- ページ 3
自動車アクセサリー ClearView Easy SlideのPDF インストレーション&ユーザーマニュアルをオンラインで閲覧またはダウンロードできます。ClearView Easy Slide 6 ページ。
ClearView Easy Slide にも: 組立説明書 (16 ページ)

Easy Slide handle assembly
IMPORTANT
The Easy Slide must be bolted to a drawer top or partially secured to a workbench via clamps at the rear
to enable safe lowering of the fridge tray during handle assembly.
Do not attempt to lower the fridge tray prior to securing the Easy Slide, as components are under pre-load
pressure from gas struts and a considerable downward force on the handle will be required.
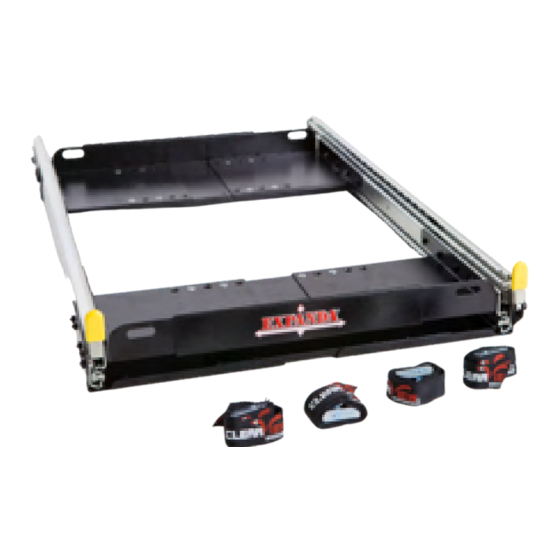
1. Place the Easy Slide on the vehicle drawer system, positioned roughly in place.
2. Release the Easy Slide Transit Lock by pushing the centred yellow lever towards the right.
3. Free the fridge tray assembly for movement by simultaneously pressing down both yellow levers on
bearing runner, at the same time slide the tray assembly forward slightly to reveal rear fixing holes on
Easy Slide base plate.
4. Using timber screws provided, temporarily fix the rear of the Easy Slide to the top of your drawers.
5. Once the Easy Slide is secured, bring the tray assembly to full extension. An audible "click" can be heard
when rail lock out mechanism is engaged.
6. Place plastic chocks on the back edge of the fridge tray. This will be required to hold the tray in a
lowered position.
7. Manoeuvre the handle arms so that notches at the base of arms lines up with pivot bolt found on
strut fixing plate. This bolt will act as a temporary pivot point for lowering the fridge tray.
8. Lower the fridge tray by pushing down on the handle, until top groove of plastic chocks slips under
the back edge of the tray assembly frame. A moderate amount of downward force is required when
the Easy Slide is empty. The plastics chocks will prevent fridge tray from lifting back up.
9. Release handle and manoeuvre the arms until bolt holes on arms align with threaded fixing points.
Secure the arms with M10 bolts and washers, using 6mm Hex Key.
10. Cut cable tie around handle trigger to enable cog lock mechanism. Squeeze trigger and push down
on handle to lower fridge tray assembly and release plastic chocks. Remove plastic chocks and
release handle trigger to engage the cog lock.
11. Test your Easy Slide to ensure cog lock mechanism works correctly and engages in every available
position. If all working correctly, return the Easy Slide to the stowed position and re-engage the
Easy Slide Transit Lock.
1
Page | 3
Due to Clearview Continuous Improvement Program, information may change without notice.
Clearview takes no responsibility for the result of incorrect use of these installation instructions.
2
3
