- ページ 8
高圧洗浄機 Blue Clean AR112のPDF オーナーズマニュアルをオンラインで閲覧またはダウンロードできます。Blue Clean AR112 17 ページ。 Power washer
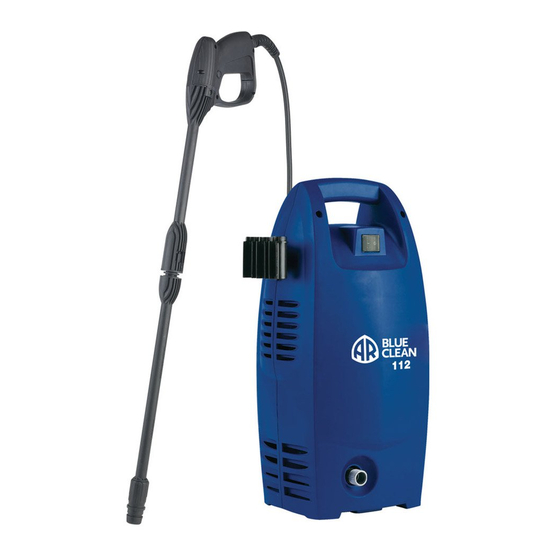
Fig. 1
High Pressure Hose
Pump
Fig. 2
Fig. 3
Safety Lock
1
Trigger
2
Fig. 4
Fig. 5
8
Fig. 6
UNPACKING & ASSEMBLY INSTRUCTIONS
After unpacking the BLUE CLEAN POWER WASHER, lay out the
parts and accessories. Familiarize yourself with the parts in the
package by comparing them to those listed on the "PACKAGE
CONTENTS" page.
The BLUE CLEAN POWER WASHER requires some minor
assembly, the accessory holder and the electric power cord holder.
(Fig. 1) Slide these pieces onto the grooves on the either side of the
power washer.
High Pressure Hose
Screw the high pressure hose (clockwise) on the front of the unit
at the bottom (Fig. 2). The end of the hose must be inserted into
the water outlet far enough so the collar can thread onto the outlet
threads until hand tight. Do not use pliers or vice grips to tighten. If it
takes fewer than six or so turns you have not properly tightened the
KLJK SUHVVXUH KRVH ¿WWLQJ ,W LV HDVLHU WR SRVLWLRQ WKH SRZHU ZDVKHU LQ
front of you to ensure that the threads are started correctly. Failure to
properly tighten the high pressure hose will result in the hose slipping
or popping off immediately upon turning the unit on. Do not worry
about damage if this occurs - just reinstall and take extra care at
VFUHZLQJ RQ WKH KLJK SUHVVXUH KRVH ¿WWLQJ
Connect the other end of the high pressure hose to the spray gun by
LQVHUWLQJ WKH VLOYHU PHWDO WLS RI WKH KLJK SUHVVXUH KRVH LQWR WKH ¿WWLQJ
under the trigger guard. It will lock into the spray gun with a "click"
)LJ &RQ¿UP WKH KRVH LV ORFNHG LQWR WKH VSUD\ JXQ E\ SXOOLQJ
slightly on the hose. The hose is now securely attached to the spray
gun.
To release the hose from the spray gun, press the thumb tab on the
underside of the gun toward the trigger guard. The hose will slide out
from the connection.
Spray Gun
To lock the trigger of the spray gun aim the gun away from you and
push the lock button from left to right, (Fig. 4) after doing so, squeeze
or pull the trigger to make sure it is locked and will not move. Get in
the habit of leaving the lock button in the "locked" position when the
power washer is not in use. This ensures the gun is in "safe" mode
until it is ready for use.
Lance and Detergent bottle
While the spray gun is in the locked position, insert the adjustable
lance or the detergent bottle directly into the end of the spray gun by
inserting, pushing together and turning clockwise simultaneously (Fig.
5). To remove push together and turn counter clockwise. Push the
safety lock button to lock the trigger when changing the lance or the
detergent tank, to ensure that they do not accidentally eject with force
during removal (Fig. 4).
When using the adjustable spray lance, the spray pattern and
intensity can be controlled according to power of water needed for
each task by twisting the spray nozzle at the far end of the lance (Fig.
7KLV FDQ EH XVHG IRU VZHHSLQJ OHDYHV RU GHEULV IURP ÀDW VXUIDFHV
or curbing. This lance has the widest variety of applications as the fan
degree allows for good impact pressure and cleaning coverage.