- ページ 13
ビデオゲームアクセサリー DOF Reality M2のPDF セットアップ方法をオンラインで閲覧またはダウンロードできます。DOF Reality M2 15 ページ。
DOF Reality M2 にも: セットアップ方法 (14 ページ)

Setup Instructions DOF Reality M2
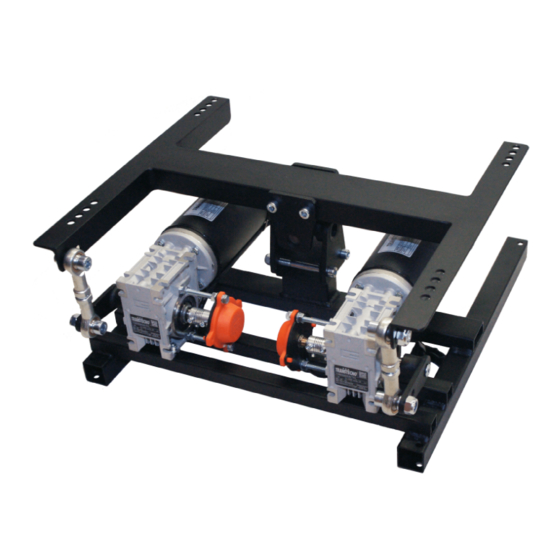
14. By hand, slowly rotate the "coupler" (silver tube like roller). It will move the green graph line
in the SMC3 tool. Make sure this is happening. If not, start over.
15. Now slowly rotate the coupler until the small black motor arm is positioned at the "2:30"
position as on a clock (pointing forward, AWAY from the black portion of the motor). If you are
calibrating the rear yaw/traction loss motor it should be left at a 90 degree angle.
16. Power OFF the DOFR control box.
17. Now looking at the SMC3 program tool, slowly rotate the coupler until the green line sits in
the middle of the graph slightly below the blue line. At this point the green line should be
moving right with the blue line.
18. Now take the allen wrench and without moving the "coupler", properly tighten ONE of the
allen screws we previously loosened(as you do this make sure green line stays in position on
SMC3 with the blue line).
19. Tighten then the second allen screw.
20. Now in the SMC3 application, turn all values back to original settings(from your earlier
screen-capture or phone picture) The default settings are: Fpid / 10, Kp = 120, Ki = 1, Kd = 10,
Ks = 5, PWMmin = 0, PWMmax = 180, PWMrev =200, Max limit = 50, Clip Input = 190,
Deadzone = 0
21. Power on the control box.
22. On the SMC3 tool at the bottom left area, click "Sine".
23. If we have been successful the green and blue line on the SMC3 will start moving up and
down almost together with the black motor arm we just re-calibrated.
24. Exit SMC3 tool and you are ready to go. If this is not fixing your problem, please review and
repeat these steps very carefully. If you are still not able to recalibrate the motor arm to a
horizontal position, contact DOF Reality.
13
