- ページ 8
トイレ closomat Palma VitaのPDF インストレーション&ユーザーマニュアルをオンラインで閲覧またはダウンロードできます。closomat Palma Vita 12 ページ。
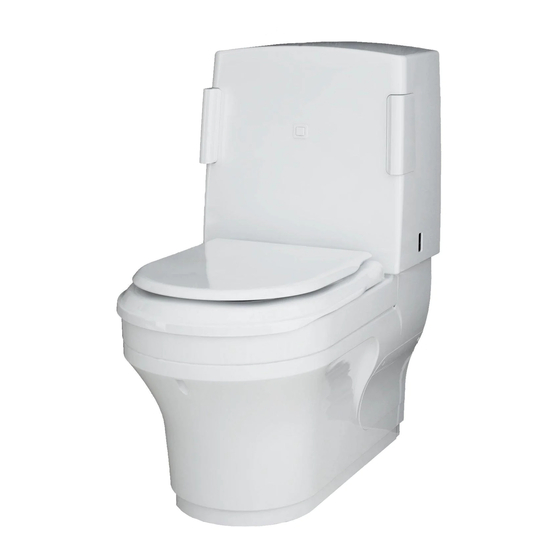
Finishing the installation
1
On completion of installation and test
procedure, replace bowl cover.
4
Replace cistern cover. Ensuring the clips
on the lower rear edges engage inside
the bowl cover and the on/off switch is
displayed in the right hand side window.
7
Push in the seat buffer on the cistern cover.
Please advise us of installation address in order that we can
arrange the commission and activate the 12-month guarantee.
2
Hook brackets into position. Where
necessary adjust to provide a water tight
seal, adjust the rising block until the seals
are tight against the porcelain.
5
Correct fitted position of cistern cover clips
– shown from rear of unit.
8
Replace the seat by locating the 'seat
pivots' into the seat hulls fixed to the
pan – press the seat firmly to secure
its position.
8
3
Replace and tighten the front screw.
6
Replace the screw on the cistern cover and
carefully tighten.
9
Complete the installation by testing the
Closomat works, by again depressing the
seat and holding in one of the elbow pads.