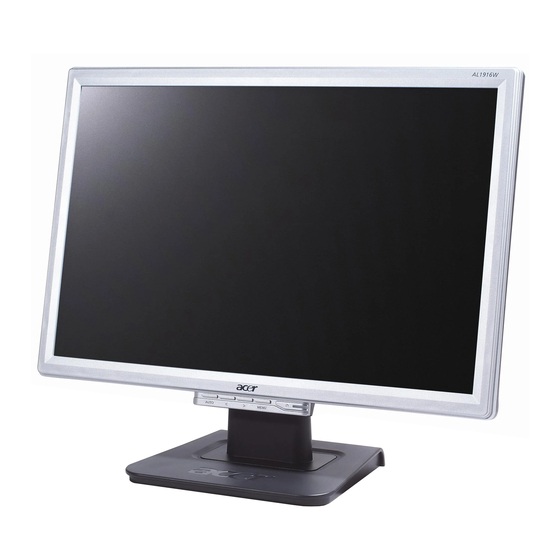
Acer AL1916 사용자 설명서 - 페이지 5
{카테고리_이름} Acer AL1916에 대한 사용자 설명서을 온라인으로 검색하거나 PDF를 다운로드하세요. Acer AL1916 16 페이지. Value line
Acer AL1916에 대해서도 마찬가지입니다: 사용자 설명서 (10 페이지), 사용자 설명서 (10 페이지), 사양 (2 페이지), 서비스 매뉴얼 (40 페이지), 서비스 매뉴얼 (47 페이지), 서비스 매뉴얼 (37 페이지), 서비스 매뉴얼 (47 페이지)

Chapter 1 Installation
Unpacking
Before unpacking the LCD Monitor, prepare a suitable workspace for your Monitor and computer. You
need a stable and clean surface near a wall power outlet. Make sure that LCD Monitor has enough
space around it for sufficient airflow. Though the LCD Monitor uses very little power, some
ventilation is needed to ensure that the Monitor does not become too hot.
After you unpack the LCD Monitor, make sure that the following items were included in the box:
* LCD Monitor
* Base
* User's Manual
* Quick Setup Guide
* 1.8M Monitor-to-PC D-SUB Cable
* 1.8M Monitor-to-PC DVI Cable (option)
* 1.8M Power Cord
If you find that any of these items is missing or appears damaged, contact your dealer immediately.
Connecting the LCD Monitor and Base
1.
Take the base from the package, and place it on a stable
surface (e.g., desk or table).
2.
Ensure that the arrow on the base faces forward.
3.
Place the LCD securely on the base as shown in the
illustration.
Viewing Angle Adjustment
The LCD Monitor is designed to allow users to have
a comfortable viewing angle. The viewing angle can
be adjusted from -5°to +15°.(See fig. 1-2)
Warning
Do not force the LCD Monitor over its maximum viewing angle settings as stated above. Attempting
this will result in damaging the Monitor and Monitor stand.
5
Figure 1-1
Figure 1-2
