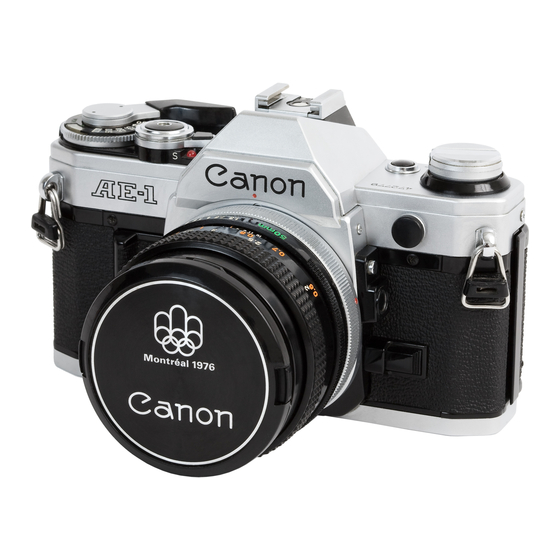
Canon AE-1 설치 절차 매뉴얼 - 페이지 42
{카테고리_이름} Canon AE-1에 대한 설치 절차 매뉴얼을 온라인으로 검색하거나 PDF를 다운로드하세요. Canon AE-1 48 페이지.
Canon AE-1에 대해서도 마찬가지입니다: 시작하기 (2 페이지), 사용 설명서 (22 페이지), 매뉴얼 (42 페이지), 매뉴얼 (12 페이지), 사용 설명서 (22 페이지)

10) In the case of a Finisher-AEl, mount the punch
lower front fixing plate 2 [I] to the foot at the front
of the finisher using a screw [2] (binding; M4 x 6).
2) Fit the face cover [ l ] that comes with the unit.
3) Connect the host machine and the puncher unit, and
secure it in place to the fixing plates (front, rear) us-
ing a stepped screw [2] (M4 x 5; 1 pc. each).
MEMO:
In the case of a Saddle Finisher-AE2, the punch
lower front cover fixing plate 2 comes mounted.
(Its shape is different from the punch lower front
cover fixing plate 2 of the Finisher-AEl .)
4) Mount the rear cover of the puncher unit using three
3. Connecting to the Host Machine
1) Remove the three screws [I], and detach the rear
cover [2] of the puncher unit.
screws.
5) Mount the punch lower front cover fixing plate 1
[I] to the punch lower front cover [2] using a screw
[3] (self-tapping; M4 x 12).
6) Mount the punch lower front extension cover [4] to
the punch lower front cover using a screw
[S]
(self-
tapping; M4 x 12).
