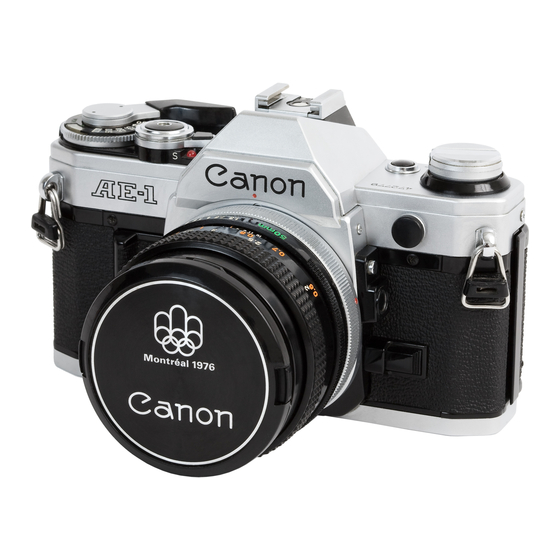
Canon AE-1 설치 절차 매뉴얼 - 페이지 41
{카테고리_이름} Canon AE-1에 대한 설치 절차 매뉴얼을 온라인으로 검색하거나 PDF를 다운로드하세요. Canon AE-1 48 페이지.
Canon AE-1에 대해서도 마찬가지입니다: 시작하기 (2 페이지), 사용 설명서 (22 페이지), 매뉴얼 (42 페이지), 매뉴얼 (12 페이지), 사용 설명서 (22 페이지)

<Saddle Finisher-AE2>
<Saddle Finisher-AE2>
Detach the cable cover [I], and remove the six screws
Connect it to the connectors 5804 [I] and 5805 [2] of
[2]; then, detach the rear cover [3].
the saddle drive PCB; then, route the connector cable
through the two cable clamps [3], and fix it in place.
7) If the rubber sheet [l] that comes with the buffer
6) Securely fit the connector cable of the puncher unit
path unit is not already attached, attach it by refer-
to the two connectors on the PCB of the finisher.
ring to the rib [2] found on the right side of the
puncher unit.
A
Check to be sure that the connector is in firm con-
tact. If the puncher unit malfunctions after installa-
tion, disconnect and then connect the connector and
run a check.
the finisher controller PCB.
8) Mount the finisher's rear cover and the cable cover.
9) Mount the rear small cover of the finisher using a
screw.
