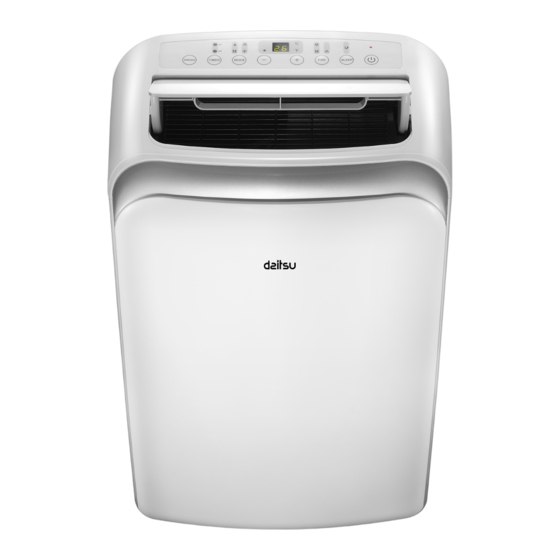
d2itsu APD-12HR 사용자 설명서 - 페이지 11
{카테고리_이름} d2itsu APD-12HR에 대한 사용자 설명서을 온라인으로 검색하거나 PDF를 다운로드하세요. d2itsu APD-12HR 20 페이지.

ELECTRONIC CONTROL OPERATING INSTRUCTIONS
Before you begin, thoroughly familiarize yourself with the control panel and remote controller
and all its functions, then follow the symbol for the functions you desire.
The unit can be controlled by the unit control panel alone or with the remote controller.
NOTE: This manual does not include Remote Controller Operations, see the <<Remote
Controller Instruction>> packed with the unit for details.
OPERATION PANEL OF THE AIR CONDITIONER
NOTE: On some models SLEEP button is instead of ECO button.
1. Power button
Power switch on/off.
2. SLEEP/ECO button
Used to initiate the SLEEP/ECO operation.
3. FAN/ION button (ION is optional)
Control the fan speed. Press to select the fan
speed in four steps-LOW, MED, HI and AUTO.
The fan speed indicator light illuminates under
different fan settings except AUTO speed. When
select AUTO fan speed, all the fan indicator lights
turn dark.
NOTE: Press this button for 3 seconds to initiate
ION feature.The ion generator is energized and will
help to remove pollen and impur ities from the air,
and trap them in the filter. Press it for 3 seconds
again to stop the ION feature.
4. UP (+) and DOWN (-) button
Used to adjust (increasing/decreasing)
temperatures ettings in 1ºC /2ºF( or 1ºF) inc rements
in a range of 17ºC/62 F to 30ºC/88 F (or 86ºF)
or the TIMER setting in a range of 0~24hrs.
UP(+) and DOWN(-) button
NOTE: The control is capable of displaying
temperature in degrees Fahrenheit or degrees
Celsius. To convert from one to the other, press
and hold the Up and Down buttons at the same
time, for 3 seconds.
6
AIR CONDITIONER FEATURES
5. MODE select button
Selects the appropriate operating mode.
Each time you press the button, a mode is selected
in a sequence that goes from AUTO, COOL, DRY,
FAN and HEAT(cooling only models without). The
mode indicator light illuminates under the different
mode settings.
6. TIMER button
AUTO OFF stop time program, in conjuction
with the + & - buttons. The timer on/off indicator light
illuminates under the timer on/off settings.
7. SWING button
(Applicable to the models with auto swing feature
only)
Used to initiate the Auto swing feature.
When the operation is ON, press the SWING button
can stop the louver at the desired angle.
8. LED Display
Shows the set temperature in "ºC" or
"ºF" ("ºF" no display) and the Auto-timer settings.
While on DRY and FAN modes, it shows the room
temperature.
Fig. 3
