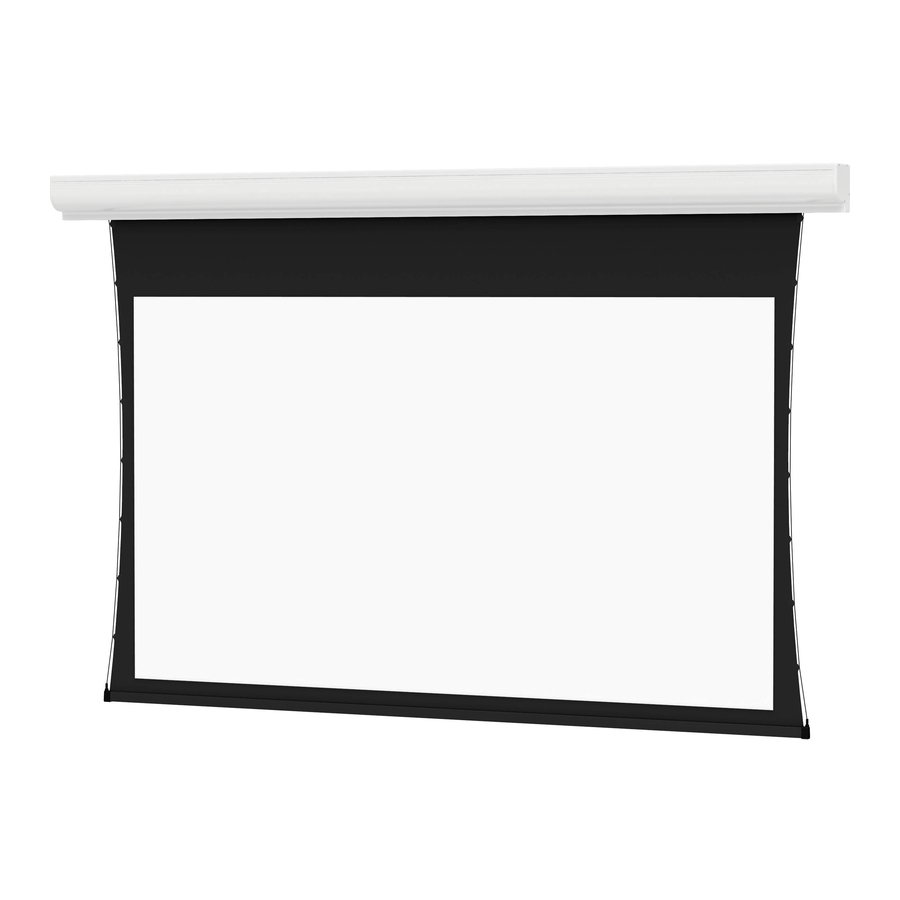
Da-Lite TENSIONED CONTOUR ELECTROL 지침서 - 페이지 3
{카테고리_이름} Da-Lite TENSIONED CONTOUR ELECTROL에 대한 지침서을 온라인으로 검색하거나 PDF를 다운로드하세요. Da-Lite TENSIONED CONTOUR ELECTROL 13 페이지. Installer friendly features
Da-Lite TENSIONED CONTOUR ELECTROL에 대해서도 마찬가지입니다: 지침서 (13 페이지), 지침서 (9 페이지), 설치 관리자 매뉴얼 (2 페이지), 사용 설명서 (9 페이지)
Installation
NOTE: Carefully unpack screen. Use supplied 1/8" hex key to
remove silver shipping brackets attached to slat and screen case.
There are three ways to install the Tensioned Contour Electrol —
Wall Mount, Ceiling Mount, or Ceiling Hook. Procedures for each
method are as follows:
Wall Mount
1.
Using a #2 Phillips screwdriver, loosen the two stop screws
and remove the wall mount bracket from the back side of
the case (Figure 1).
NOTE: The ceiling flush mount and ceiling hook mount
brackets are attached to the top side of the case. These
brackets are not necessary for wall mounting and can be
removed at this time.
2.
Secure the wall mount bracket to the wall at the desired
height. The wall mount bracket should be fastened to the
wall studs or some reinforcement within the wall. Concrete
or brick walls require special fasteners and anchors. Allow at
least 3" above the wall mount bracket to be able to position
the case on the bracket (Figure 2).
3.
Make sure the bracket is level.
4.
Hang the screen case on the wall mount bracket as shown
in Figure 2. Be sure the case is fully seated on the bracket.
5.
Tighten the two stop screws against the wall mount bracket
using a #2 Phillips screwdriver (Figure 1).
Ceiling Flush Mount
1.
The ceiling hook brackets are attached to the top side of the
housing. They must be removed prior to ceiling flush mount.
NOTE: Do not remove the wall mount bracket, even if you
are not using it for mounting. This provides structural
stability
to the case.
2.
Using a #2 Phillips screwdriver, loosen the four 1/4"x 5/8"
screws holding the ceiling flush mount brackets (Figure 3).
3.
Slide the ceiling flush mount brackets so that the mounting
holes extend beyond the ends of the case. All four 1/4"x 5/8"
screws must remain within the channels.
4.
Tighten the four 1/4"x 5/8" screws holding the ceiling
flush mount brackets (Figure 3).
5.
Before mounting your Tensioned Contour Electrol, be
sure the ceiling has adequate reinforcement.
6.
Hold the screen case up to the ceiling and mark the hole
locations. The brackets have a set of front holes and a set of
rear holes. Attach the Tensioned Contour Electrol using the
appropriate hardware for your ceiling type. It is best to use
at least one hole in each set.
5 11/16"
6 3/8"
2 5/16"
Case Hook
Wall Mount
Bracket
Stop Screws
Slat Bar
Figure 1
Wall
Wall Mount
Bracket
Figure 2
1/4 X 5/8"
Flat Head Screw
Figure 3
2 9/16"
3