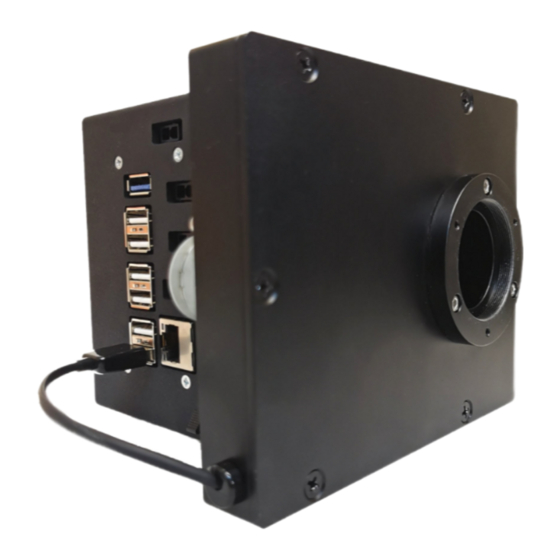
Astrel Instruments AST492 시작하기 - 페이지 3
{카테고리_이름} Astrel Instruments AST492에 대한 시작하기을 온라인으로 검색하거나 PDF를 다운로드하세요. Astrel Instruments AST492 11 페이지.

Astrel Instruments
AST492
Getting started with the Astrel Instruments camera
Thank you for purchasing an Astrel Instruments CMOS camera. Your new camera is a leading
edge scientific instruments: please take your time to read carefully the following User's Manual
to learn how to get the best out of your equipment.
The Smart Camera philosophy is the concept that the imaging camera could be the real brain of
your astronomical equipment. This is possible thanks to the powerful microprocessor that is in
charge of managing not only the camera itself but also, through the USB ports available on-
board, the other components of your system.
When you power on the camera, you're also powering on an embedded PC, which can
substitute the laptop that is needed to operate a classic camera for astrophotography. The
embedded PC comes with the camera and filter wheel ASCOM drivers already installed, so that
every software for astrophotography you will install could access them as usual.
Moreover, instead of connecting your setup (focuser, mount, autoguider, ...) to a laptop, you
can connect it directly to the camera, so that, when connecting through WiFi, the only cable
leaving the telescope is the main power supply.
To operate the camera without a laptop, you need to connect through WiFi with your tablet or
even your smartphone using any Remote Desktop application (of course you can also use an
external PC/laptop using Ethernet or WiFi).
Getting Started
3/11
rev A
