Canon DR 7550C - imageFORMULA - Document Scanner 사용자 설명서 - 페이지 23

{카테고리_이름} Canon DR 7550C - imageFORMULA - Document Scanner에 대한 사용자 설명서을 온라인으로 검색하거나 PDF를 다운로드하세요. Canon DR 7550C - imageFORMULA - Document Scanner 31 페이지. Scanner
Canon DR 7550C - imageFORMULA - Document Scanner에 대해서도 마찬가지입니다: 브로셔 및 사양 (26 페이지), 간편한 시작 매뉴얼 (2 페이지), 보충 설명서 (7 페이지), 브로셔 및 사양 (8 페이지), 브로셔 및 사양 (4 페이지), 브로셔 및 사양 (33 페이지), 포켓 매뉴얼 (32 페이지), 포켓 매뉴얼 (30 페이지), 브로셔 및 사양 (4 페이지), 브로셔 및 사양 (4 페이지), 유지 관리 매뉴얼 (20 페이지)
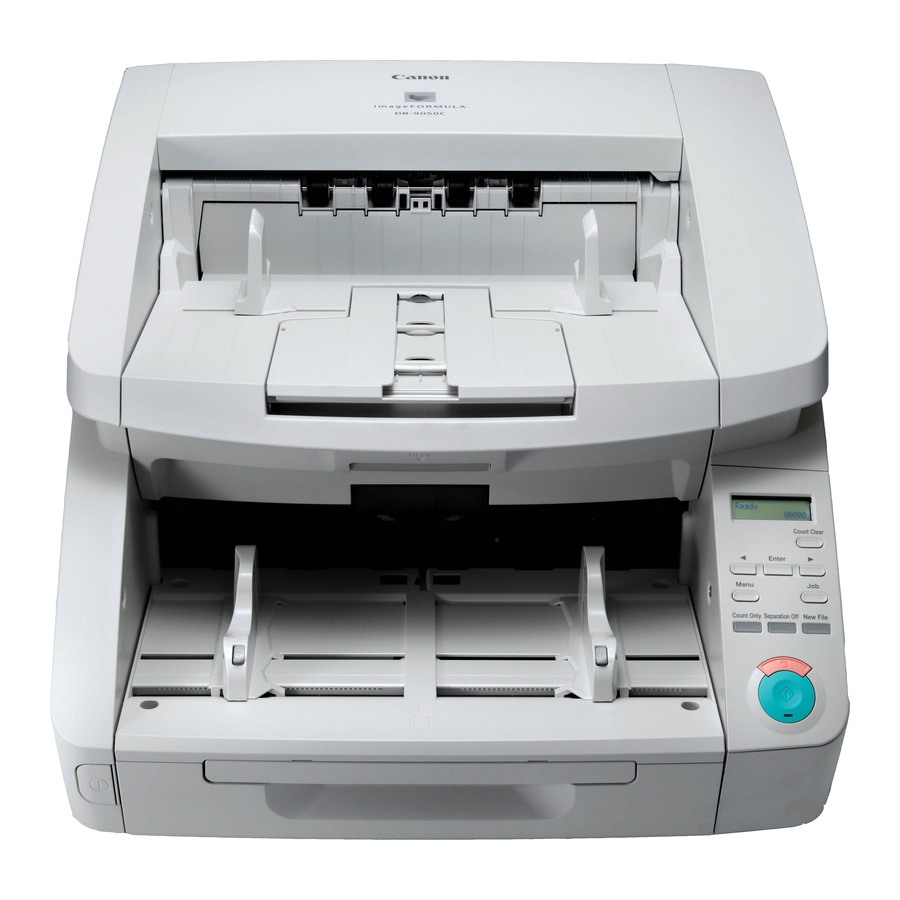
Canon DR 7550C - imageFORMULA - Document Scanner 사용자 설명서
[Mode]
Select the scanning mode.
[Page Size]
Select the page size of the document to be scanned.
If you select [Auto-detection], the document size is detected
automatically. The [Settings] button is also enabled with this selection.
Click the button to open a dialog box for specifying the detection area
based on the size of the document to be scanned (All Area, A4 area,
A5R area).
[Dots per inch]
Specify the scanning resolution.
[Brightness]
Adjust the brightness of scanned images.
[Contrast]
Adjust the contrast of scanned images.
[Scanning Side]
When scanning documents placed in the feeder of the connected
Canon DR-series scanner, select which sides of a document to scan.
[Deskew]
Click to ensure that if a document is scanned at an angle, the slant is
detected and straightened out in the scanned image.
[Ambient Light Canceling Mode]
Click to ensure that if you are scanning documents on the flatbed with
the document cover open, light that enters from the edges of the
document is removed in the scanned images. Depending on the
nature of the ambient light and other scanning condition settings, the
ambient light may not be completely removed.
This setting is only available when [Page Size] is set to A4 or smaller.
If you enable [Ambient Light Canceling Mode] while [Page Size] is set
to [Auto-detection] and the size detection area is set to [All Area], the
size detection area setting will change to [A4 area] automatically.
[Area]
Click this to display a dialog box for specifying the area of the
document to scan.
[More]
Click this to display the settings dialog box for the connected Canon
DR-series scanner, and configure advanced scan conditions. For
details on settings, refer to the Help for the ISIS/TWAIN driver.
[Default]
Return all configurations in the settings dialog box to their default
values.
23