ASTRO-PHYSICS RAPAS 사용 설명서 - 페이지 4
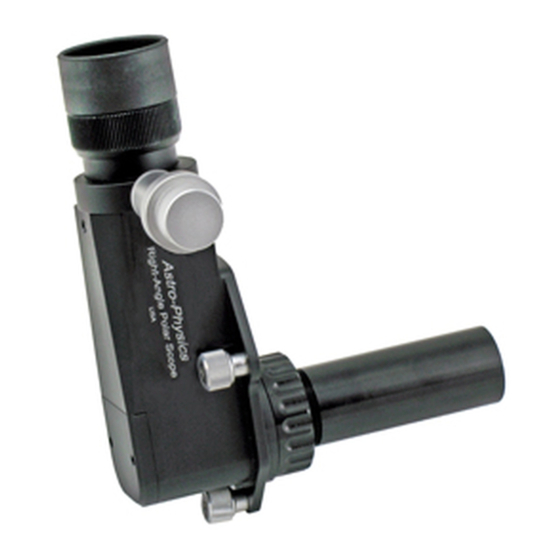
{카테고리_이름} ASTRO-PHYSICS RAPAS에 대한 사용 설명서을 온라인으로 검색하거나 PDF를 다운로드하세요. ASTRO-PHYSICS RAPAS 6 페이지. Right-angle polar alignment scope

Explanation of the Push-Pull Adjustment System:
Please Notice
need to further refine its accuracy and can skip the Push-Pull adjustment described below.
Our CNC machining tolerances are measured in the 10,000ths of an inch (a very, very tiny amount). When you assemble
a number of parts, the tolerance variations are not added, but rather multiplied. Hence, the need to be able to make tiny
angle adjustments for precision. Remember, one arc second is the same as a dime placed at a distance of 2.5 miles!
Most users may never need to adjust the plate from its factory position, but the "push-pull" system is available to
allow precise adjustments.
The three set screws "push" against the rear plate of the R.A. axis. They do so to change the angle of the RAPAS
attachment plate. The three attachment screws "pull" the set screw tips tight against the rear plate in order to fix the
adjustment plate at the corrected angle.
By using the appropriate "push" screws (set screws) and "pull" screws (attachment screws) on the mount adapter plate you
will align the pole star on the polar scope reticle. It will take a little trial and error to learn which screw moves the star which
direction.
If you have multiple Astro-Physics mounts and you have made the adjustments (described below) to each of the adapters,
then you will be able to swap the RAPAS between all of your mounts with high-precision and repeatable results.
The Basics for Aligning the RAPAS Adapter and/or Polar Axis Rear Plate:
Use the RAPAS before deciding whether it is necessary to make these adjustments to the Adapter / Rear Plate.
1. To achieve the greatest accuracy, it is important to level the mount in the East-West direction. This ensures that the
RAPAS is positioned vertically (so that alignment is repeatable).
2. After attaching the adapter plate and the polar scope, use the polar scope to position Polaris (N. Hemisphere) or Sigma
Octans (S. Hemisphere) on the reticle at the proper hour angle. The mount will be quite close to polar aligned at this
point. See the following handy alignment Apps for proper Polaris (or Sigma Octans) placement:
a) Astro-Physics Polar Alignment Scope Utility - now a part of the AP V2 ASCOM driver
(you must use version v5.05.10 or later); the AP V2 ASCOM driver can be found by
linking through the AP website. The full V2 ASCOM driver needs to be installed, but
the "AP Right Angle Polar Alignment Scope" utility can be accessed as a stand-alone
application by navigating through Windows: Start → Programs → Astro-Physics →
ASCOM Driver → AP Right Angle Polar Alignment Scope.
b) iPhone/iPad/iPod Touch App - Astro-Physics PolarAlign App
c) Windows Phone App - AP Polar Align App
d) Android Phone App - Polar Finder App
3. Perform a precise drift alignment using your telescope. If your alignment is not perfect, then you will make the RAPAS
less accurate by adjusting it. Please see the following section for the preferred Drift Alignment procedure.
4. Using only the Push-Pull Screw Adjustment System on the RAPAS adapter (D
adjusters), bring Polaris (or Sigma Octans) back to the appropriate hour angle. Remember, Polaris' position is con-
stantly changing. Adjustment is made by loosening two attachment screws while pushing with its paired set screw.
Always keep one attachment screw tight so that the adjustment does not become sloppy. Note the direction of star
movement when you push with a set screw and work accordingly. Little by little you will move the polar alignment star
to its proper position. Finish by making sure that the attachment screws are tight.
After this initial drift alignment and adjustment, the mount will not need to be drift aligned again, even if the polar scope
is removed at the end of a session and replaced at the next session. The fit of the polar scope is accurate enough to re-
create the same polar alignment to a high degree of accuracy with each subsequent use. Likewise, it will be possible to
swap the RAPAS between different mounts since it is the adapter plates that makes the adjustment for each mount.
Important Reminder: The RAPAS Adapter must always remain attached to the scope. Only the RAPAS,
itself, is removed.
– The RAPAS will be VERY accurate right out of the box. Most people will find no
N
o
ot
4
U
the mount's altitude-azimuth
se
