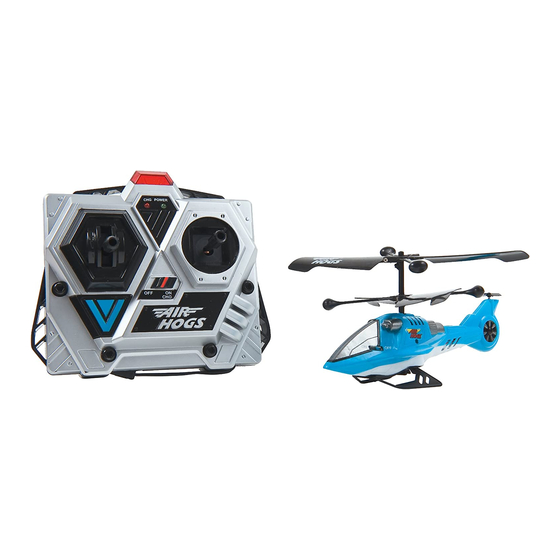
Air Hogs Jackal 사용 설명서 - 페이지 2
{카테고리_이름} Air Hogs Jackal에 대한 사용 설명서을 온라인으로 검색하거나 PDF를 다운로드하세요. Air Hogs Jackal 4 페이지.

BATTERY INSTALLATION – CONTROLLER/CHARGER
1. Open the battery door with a screwdriver (pic.1). 2. If used batteries are present, remove these batteries from the unit by pulling up on one end of each
battery. 3. Install new batteries as shown in the polarity diagram (+/-) inside the battery compartment (pic.2). 4. Replace battery door securely (pic.3).
5. Check your local laws and regulations for correct recycling and/or battery disposal.
1. Turn off both the helicopter and controller/charger.
2. Pull out the charging cord from the bottom of the
controller/charger (pic.1). 3. Carefully plug the charging
cord into the helicopter (pic.2). DO NOT FORCE THE
PLUG INTO THE PORT. When inserted properly, the
charging cord should fit easily into the charging port.
Incorrect insertion of the charging cord will damage the
helicopter and may create a hazard. 4. Turn the switch to
the ON/CHG position on the controller/charger (pic.3).
5. The controller/charger's charge LED will start to flash
(pic.4). 6. When the charge LED stops flashing and turns
off, charging is complete. 7. Turn controller/charger
switch to the OFF position before flying the helicopter.
Things to remember:
Before you recharge the battery or take the next flight,
wait 10-15 minutes to let the battery cool down.
1. INDOOR FLYER
Location – Fly in a wide-open room (ideally over 3 m wide x 5 m long x 2.5 m high), away from breakable items. Avoid flying near vents and/or fans, as these
may overpower the Jackal™ and make it difficult to control. NOTE: Always get permission to fly your Jackal™ indoors.
CAUTION: Never fly near your face. Keep rotor away from your fingers, hair, eyes and other body parts. Always lift off from a flat surface. Never hold the
flying heli in your hand when lifting off. DO NOT launch heli near people or animals. Stay away from obstacles and electrical hazards.
2. GETTING STARTED
1. Move the controller/charger's power/charge switch to ON (pic.1). 2. Set the ON/OFF switch of the helicopter to ON (pic.2). 3. Place the helicopter on the
ground with its' tail pointing toward you and the head facing away (pic.3). 4. Before take-off, the helicopter engine must be initiated to operate. To do this, pull the
throttle stick all the way down B, then slowly push it forward A. This will start the engine and the helicopter will be ready to fly (pic.4).
pic.1
pic.1
pic.1
3. TRIMMING YOUR HELICOPTER
STEP ONE
Gently push the throttle up to raise your helicopter about 1.5 metres above the ground.
If the helicopter spirals to the
right or keeps turning right,
push the Left/Right trim
wheel up until the helicopter
STEP TWO
flies straight.
If the helicopter spirals to the
left or keeps turning left, push
the Left/Right trim wheel
down until the helicopter
STEP THREE
flies straight.
HOW TO INSTALL YOUR BATTERIES
pic.1
HOW TO CHARGE YOUR JACKAL™
pic.1
pic.1
pic.1
HOW TO FLY YOUR JACKAL™
ON
ON
ON
pic.2
pic.2
pic.2
Spirals right
Spirals left
pic.2
ON
ON
ON
OFF
OFF
OFF
OFF
OFF
OFF
pic.3
pic.3
or
Keeps turning right
or
Keeps turning left
2
pic.3
pic.3
pic.3
pic.3
OFF
OFF
OFF
ON
ON
ON
CHG
CHG
CHG
pic.4
pic.4
pic.4
pic.2
pic.2
pic.2
CHG
CHG
CHG
POWER
POWER
POWER
A
B
pic.4
pic.4
pic.4
