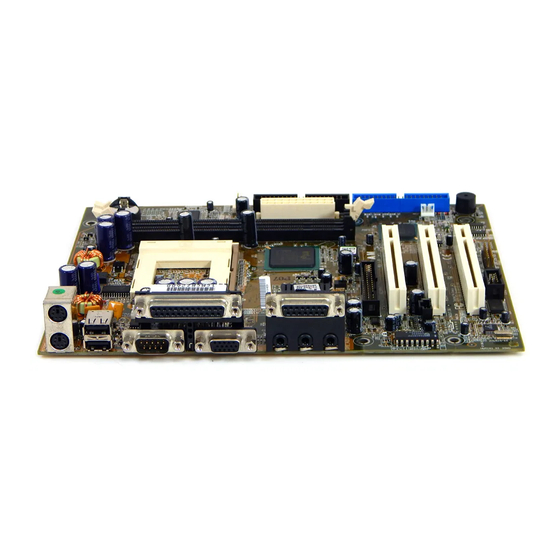
Asus CUW-AM 매뉴얼 - 페이지 19
{카테고리_이름} Asus CUW-AM에 대한 매뉴얼을 온라인으로 검색하거나 PDF를 다운로드하세요. Asus CUW-AM 21 페이지.

2. HARDWARE SETUP
23) IDE Activity LED (2-pin HDLED)
This connector supplies power to the cabinet's IDE activity LED. Read and
write activity by devices connected to the Primary or Secondary IDE connector
will cause the LED to light up.
24) ATX Power Switch Lead (2-pin PWR)
The system power is controlled by a momentary switch connected to this lead.
Pressing the button once will switch the system between ON and SOFT OFF.
Pushing the switch while in the ON mode for more than 4 seconds will turn the
system off. The system power LED shows the status of the system's power.
25) ATX Power Supply Connector (20-pin block ATXPWR)
This connector connects to an ATX power supply. The plug from the power sup-
ply will only insert in one orientation because of the different hole sizes. Find the
proper orientation and push down firmly making sure that the pins are aligned.
IMPORTANT:
Make sure that your ATX power supply can supply at least 10mA
on the +5-volt standby lead (+5VSB). You may experience difficulty in power-
ing ON your system if your power supply cannot support the load. For Wake-
On-LAN support, your ATX power supply must supply at least 720mA +5VSB.
0 1
CUW-AM
CUW-AM ATX Power Connector
+12.0 Volts
+5V Standby
Power Good
Ground
+5.0 Volts
Ground
+5.0 Volts
Ground
+3.3 Volts
+3.3 Volts
CUW-AM User's Manual
+5.0 Volts
+5.0 Volts
-5.0 Volts
Ground
Ground
Ground
Power Supply On
Ground
-12.0 Volts
+3.3 Volts
19
