BATTERY LINK MCU080 매뉴얼 - 페이지 4
{카테고리_이름} BATTERY LINK MCU080에 대한 매뉴얼을 온라인으로 검색하거나 PDF를 다운로드하세요. BATTERY LINK MCU080 8 페이지.
BATTERY LINK MCU080에 대해서도 마찬가지입니다: 매뉴얼 (8 페이지)
Operating the Charger
Connecting the charger to a battery in a vehicle:
Ensure the ignition and all of the accessories in the vehicle are switched off. This will maximize the charge
your battery receives. It will also minimize any chance of damage occurring to the vehicles on-board
electronics.
1. Inspect the electrolyte levels in the battery and top up if required. This step does not apply to
maintenance-free batteries.
2. Connect the red positive (+) lead of the battery charger to the positive (+) post of the battery.
3. Connect the black negative (-) lead of the battery charger to negative (-) post of the battery.
4. Plug the battery charger into an AC outlet then switch on mains power to activate the charger.
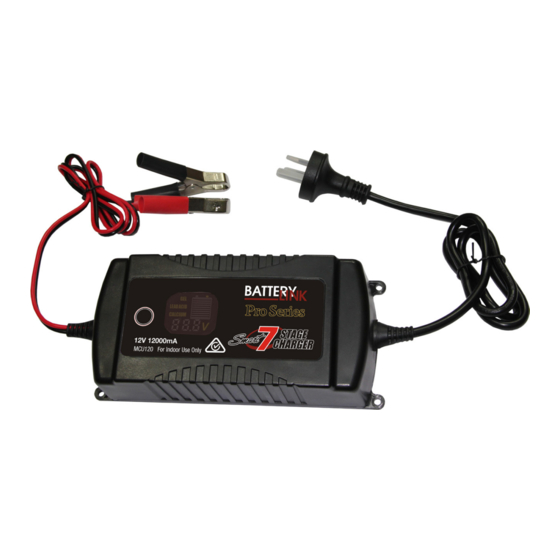
Battery
capacity
display
Battery
selector
button
Charging
voltage
5. Push the battery selector button to select the type of battery being charged.
6. Charging voltage will display on screen at all times during the charging process.
7. Battery capacity display shows state of charge. All bars illuminated indicates that battery is fully
charged. Red and amber together indicates additional charging required. Red bars only indicate flat
battery.
8. Charger can be left connected to mains power and battery once fully charged. The charger will
maintain battery in fully charged state.
CHARGING POWER
CHARGING POWER