Baumer CombiTemp TFRN 사용 설명서 - 페이지 6
{카테고리_이름} Baumer CombiTemp TFRN에 대한 사용 설명서을 온라인으로 검색하거나 PDF를 다운로드하세요. Baumer CombiTemp TFRN 12 페이지. Temperature sensor
English page 1 ... 7
Mounting for TFRH
Installation of 3-A approved and EHEDG certified products:
Generally for welding adapters in a tank
1 Use only a 3-A approved counterpart.
2 Level the inner surface of the tank with the welding adapter.
3 If it is possible, always face the inspection hole downwards, so a
leaking gasket can be observed quickly and if necessary replaced.
The inspection hole should always be visible and drainable.
4 Weld from the inside of the tank if possible. Welds shall be free from
cracks, burr and grooves. Welding should be grinded to Ra 0,8 µm.
5 Tighten the connection with the torque stated below
www.baumer.com
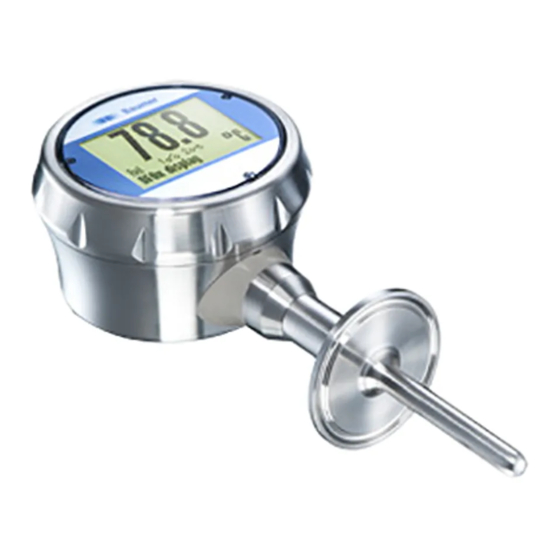
Temperature sensor
CombiTemp TFRN/TFRH
Operating instructions
Generally for welding adapters in a tube
1 Use only a 3-A approved welding adapter
2 Level the inner surface of the pipe with the welding adapter.
3 Welds shall be free from cracks, crevices and groves. Welding
should be grinded to Ra 0,8 µm.
4 The 3-A mark or arrow shall be placed upwards. Always face the
inspection hole downwards, so a leaking gasket can be observed
quickly. If necessary to be replaced. The inspection hole should be
visible and drainable.
5 Always mount the welding adapter in a self-draining position. On a
tube; >5° from horizontal. This will give an optional placement of
170° for the location of measuring point (as shown in the drawing)
6 Tighten the connection with the torque stated below
WARNING
Tighten the connection with a torque of:
CombiTemp TFRH
After installation and configuration
Check the leak tightness between the welding sleeve and the
instrument
Check the tightness of glands or M12 plugs.
Check the tightness of the instrument cover
It is important that a 3-A marked adapter are installed according to
these instructions. Always try to limit cracks, crevices and holes where
remaining media can accumulate and provide bacteria.
Always replace gaskets or O-rings that are damaged or defect.
Operating Instructions: 11163172 06 EN
G 1/2 A hygienic
20 Nm
Page 6 / 12