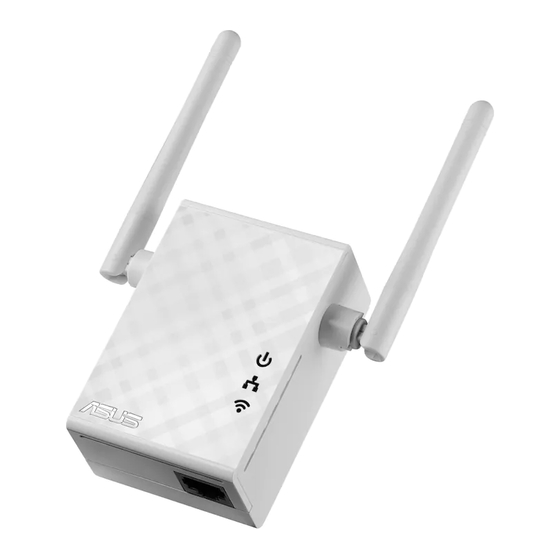
Asus RP-N12 빠른 시작 매뉴얼 - 페이지 5
{카테고리_이름} Asus RP-N12에 대한 빠른 시작 매뉴얼을 온라인으로 검색하거나 PDF를 다운로드하세요. Asus RP-N12 37 페이지. Wireless-n300 range extender
Asus RP-N12에 대해서도 마찬가지입니다: 빠른 시작 매뉴얼 (2 페이지), 빠른 시작 매뉴얼 (7 페이지)

3. Check if RP-N12's Wi-Fi indicator turns solid light, which indi-
cates that the Range Extender has connected to the wireless
network successfully. The Range Extender's wireless network
name (SSID) changes to your existing Wi-Fi network name,
ending with _RPT. For example:
Existing Wi-Fi network name: existing NetworkName
New Extender network name: existing NetworkName_RPT
To connect an additional Wi-Fi device to your Extender net-
work, use the same network password as that of your existing
wireless router.
Move the Range Extender
When the connection is complete, locate the Range Extender
between the router/AP and the wireless device to get better per-
formance. After placing your RP-N12 in an ideal location, RP-N12
connects to your router/AP in about one (1) minute.
NOTES:
• Place your RP-N12 between your router/AP and wireless
device to get the best extender performance.
• Place your RP-N12 in a location where you can get green Wi-Fi
LED.
IMPORTANT!
• To minimize interference, keep RP-N12 away from devices like
cordless phones, Bluetooth devices and microwave ovens.
• We recommend that you place your RP-N12 in open or
spacious location.
na10206_rp-n12_qsg.indb 5
Signal Indicator
• To get the best performance, place the Range Extender
between your router/AP and wireless device.
• The Wi-Fi signal indicator indicates the connection perfor-
mance from the Range Extender to the router/AP. Refer to the
Wi-Fi LED indicator in section A Quick Look.
5
2015/5/8 12:03:20
