Asus J102 매뉴얼 알아보기 - 페이지 2
{카테고리_이름} Asus J102에 대한 매뉴얼 알아보기을 온라인으로 검색하거나 PDF를 다운로드하세요. Asus J102 13 페이지.
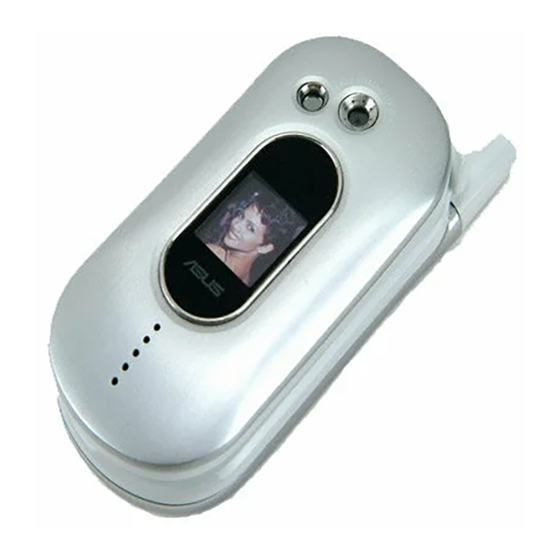
Initial installation and battery charging
Installing the SIM card
Installing the SIM card
Installing the SIM card
Installing the SIM card
Installing the SIM card
1. Position the SIM card (A) over the SIM card slot with
the contacts (golden connectors) face down, and the
nicked corner (B) matching the notch (C) on the SIM
card slot.
2. Carefully press, then slide the SIM card into the slot
until it fits completely.
Installing the battery
Installing the battery
Installing the battery
Installing the battery
Installing the battery
The battery comes uninstalled on the J102 mobile
phone. To install the battery:
1. Insert the battery hooks to the holes on the bottom
of the battery compartment.
2. Push the battery to the direction of the arrow until it
clicks in place.
Charging the battery
Charging the battery
Charging the battery
Charging the battery
Charging the battery
1. Connect the charger to an AC power source.
2
Flip the I/O connector cover to show the I/O
connector.
3. Insert the power cable plug to the I/O connector.
Initial battery charging may take about eight hours. You
can charge the battery when the phone is either on or off.
After initial use, it takes about three to four hours to fully
charge the battery.
2 2 2 2 2
B
1 1 1 1 1
A
2 2 2 2 2
C
2 2 2 2 2
1 1 1 1 1
1 1 1 1 1
2 2 2 2 2
3 3 3 3 3