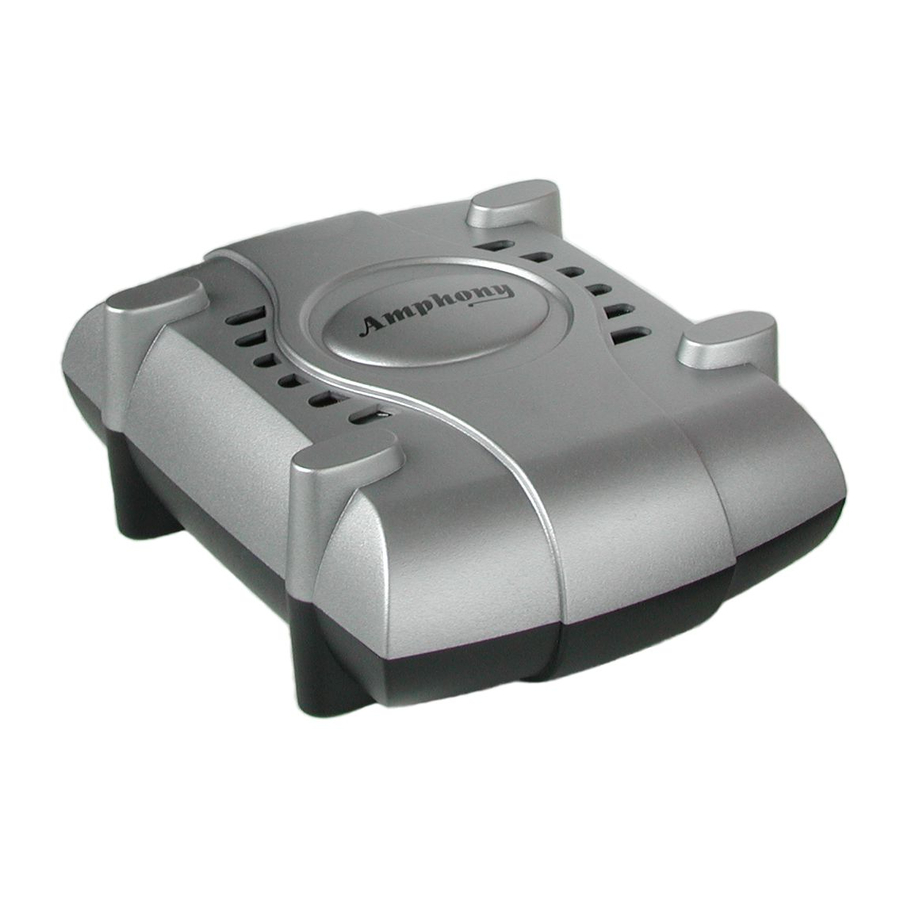
Amphony 1500 사용자 및 설치 설명서 - 페이지 2
{카테고리_이름} Amphony 1500에 대한 사용자 및 설치 설명서을 온라인으로 검색하거나 PDF를 다운로드하세요. Amphony 1500 8 페이지. 5.8 ghz digital wireless audio transmitter / receiver
Amphony 1500에 대해서도 마찬가지입니다: 기술 사양 (2 페이지), 사용자 및 설치 설명서 (17 페이지), 제품 정보 (4 페이지), 사양 (4 페이지), 사용자 및 설치 설명서 (9 페이지)

User and Installation Guide
Unpacking: Check that this package contains:
One 5.8 GHz Digital Audio transmitter, one 5.8 GHz Digital Audio receiver,
two AC adapters, two dual RCA audio cables.
Step 1
Connecting the transmitter
The transmitter connects to a line-out interface via the supplied RCA cable.
Most audio devices provide a line-out interface.
If no line-out interface is available, the transmitter can also be connected to
other audio outputs by using an appropriate adapter. It should be noted that
the audio level of the audio output should conform to the standard line output
level (V ± 2.8 V maximum).
pp
If the audio level is too low, the dynamic range of the transmitter is not fully
used. If the audio level is too high, clipping at high audio levels may occur. If
clipping occurs, use an adjustable output (such as a headphones output)
instead and a suitable adapter (such as a Y adapter). If the transmitter is
connected to an amplified speaker output, an attenuator is required to lower
the audio level to the maximum permitted transmitter audio level.
Connect the DC power input with the supplied AC adapter. The use of a surge
protector is recommended to protect the transmitter from power surges.
ATTENTION!
Never connect the DATA OUT output to an audio source since this
may damage both the transmitter and the audio equipment !
AUDIO
IN
L
AUDIO
LINE OUT
L
Audio Source
DATA
OUT
R
Transmitter
R
DC 9V
AC adapter
DC 9 V
300 mA
R R
Power outlet
Page 1
