Advanced MxPro 4 매뉴얼 - 페이지 5
{카테고리_이름} Advanced MxPro 4에 대한 매뉴얼을 온라인으로 검색하거나 PDF를 다운로드하세요. Advanced MxPro 4 8 페이지. Shop interface unit
Advanced MxPro 4에 대해서도 마찬가지입니다: 매뉴얼 (10 페이지)

1.4 Internal Wiring
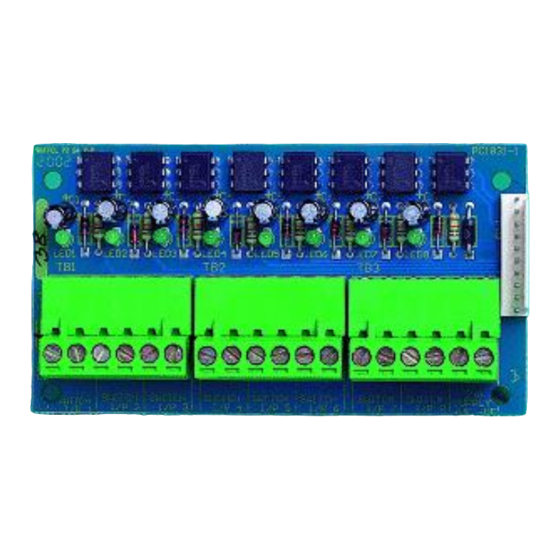
A 10 way single in line ribbon cable is used to
connect the input card, via the latched
header – PL1, to the 10 way latched header
on the back of the display card.
Route the cable as shown in the diagrams
opposite.
Adhesive ribbon cable clips are supplied with
the kit.
Affix these in the positions shown and clip the
ribbon cable into place to prevent undue
strain on the cable connections.
The 8-Way Input Card requires a 24VDC
Supply.
Connect the Inputs to the 24V DC AUX
Supply Output on the base card as shown in
the diagram opposite.
OBSERVE POLARITY OF CONNECTIONS.
www.advancedco.com
Figure 3
Cable
Input Card
Route the cable between the input card and the base card and
then beneath the base card along the bottom edge.
Figure 4
Cable Clips
Route the cable around the hinge and along the display plate.
Positions for the plastic cable clips are shown
Figure 5
Input Card
AUX DC Power to Input Card
Base Card
Display Card
Base Card
5
