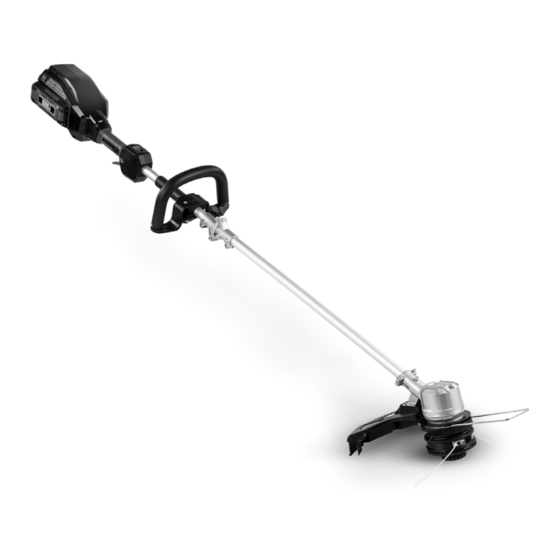
DR PRO-62V 안전 및 작동 지침 매뉴얼 - 페이지 13
{카테고리_이름} DR PRO-62V에 대한 안전 및 작동 지침 매뉴얼을 온라인으로 검색하거나 PDF를 다운로드하세요. DR PRO-62V 20 페이지.
DR PRO-62V에 대해서도 마찬가지입니다: 안전 및 작동 지침 매뉴얼 (20 페이지), 안전 및 작동 지침 매뉴얼 (20 페이지)

Chapter 4: Maintaining The DR
Regular maintenance is the way to ensure the best performance and long life of your machine. Please refer to this Chapter for
maintenance intervals and procedures.
Always remove the Battery Pack before performing any maintenance or
repairs to your String Trimmer.
Changing the Cutting Line
1.
Remove any old Line that may still be in the Spool by pushing the two Push
Tabs of the Housing in and removing the Housing (Figure17).
Note: The Spool will come off with the Housing. Ensure that the internal Spring
and Spool are in the proper orientation when reassembling.
2.
Remove any remaining Line from the Spool.
3.
Align the Push Tabs of the Housing with the Head and reinstall the Spool
and Housing.
4.
Line up the notches of the Spool with the notches in the Housing
(Figure18).
5.
Cut 16 feet of new line.
6.
Feed one end of the new Line though one of the Eyelets until it comes out
of the Eyelet on the other side.
7.
Continue to pull the line through until it is the same length on both sides of
the Housing.
8.
Wind the cord into the Spool by turning the Spool clockwise until there is
about 14" of line on each side of the Housing.
Battery LED Lights
Check the charge percentage of your 62V Battery by pushing the Indicator
Button on the front of the Battery (Figure19). The number of Green LED
indicators will tell you the % of power left in the battery. 1-25%, 2-50%, 3-75%
and 4-100%.
If you press the Indicator Button and only the fourth LED flashes, the Battery
needs charging.
Charger indicator Lights (Figure 20)
Red LED Lit, green LED is not lit; The Charger is plugged in but the battery is
not installed (no load condition).
Green LED blinks, red LED is not lit; Battery is charging normally.
The green LED is on, red LED is not lit; Battery is fully charged.
Green LED is not lit, red LED blinks; There is a fault with the battery or charger.
Remove the Battery from the charger and wait about 30 minutes, then reinsert
the Battery into the Charger.
If the Battery does not hold its charge for very long under normal conditions or
it simply won't hold a charge, then replace it. You can purchase a replacement
Battery directly from us at www.DRpower.com.
®
PRO-62V STRING TRIMMER
Housing
Figure 17
Spool
Housing
Figure 18
Indicator
Button
Figure 19
Green
LED
Figure 20
CONTACT US AT www.DRpower.com
Push Tab
Notches
Eyelet
Cutting line
Battery
Red
LED
Charger
13
