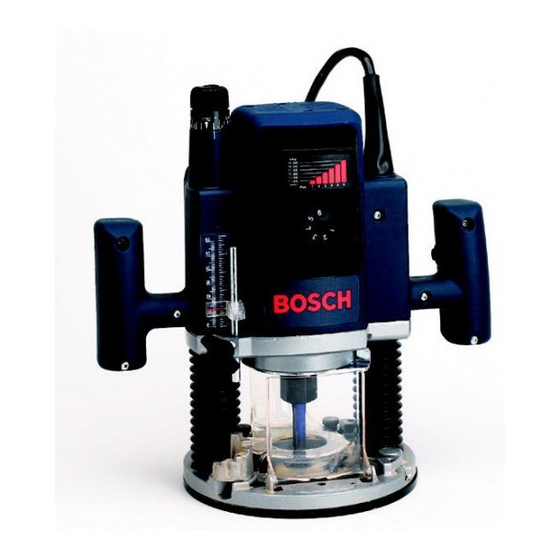
Bosch 1613 사용 설명서 - 페이지 8
{카테고리_이름} Bosch 1613에 대한 사용 설명서을 온라인으로 검색하거나 PDF를 다운로드하세요. Bosch 1613 28 페이지. Plunge router
Bosch 1613에 대해서도 마찬가지입니다: 사용 설명서 (28 페이지)

depth turret to progressively lower stops as
desired, until the final depth (lowest step or
flat) is reached.
Fine adjustment
The router is equipped with a true micrometer-
type fine adjustment mechanism, which can be
used in any plunge position and provides pre-
cise adjustment of the router bit position for
unmatched accuracy. When the tool is plunged
to the approximate position desired, this device
may be adjusted to precisely set the final cutter
position.
To use the fine adjustment, turn the fine adjust
knob 1 clockwise to lower the router bit or
counter-clockwise to raise it, as indicated by
the arrow molded into the top of the knob. To
allow precise settings, the indicator ring is
graduated in English and Metric increments,
and each line is equal to 1/10 mm or .004". The
indicator ring may be reset to zero without
moving the fine-adjust knob, to allow the user
to begin the adjustment from any reference
point desired.
The fine adjustment mechanism has a total
adjustment range of 5/8", which is indicated by
the two lines printed on back of the housing.
Whenever the fine adjustment is used, be cer-
tain that the index marker 17 is positioned
between these two lines to ensure that there will
be enough travel in the desired direction after
the router is plunged into position. Note that
when the router is plunged to maximum depth
or is fully retracted to the top of the posts, the
fine adjustment mechanism will not move the
motor further down or up, as the full extension
of the travel has been reached at these points.
Similarly, the fine adjustment cannot lower the
bit when the depth indicator rod is tightened
against the depth turret.
Direction of Feed
The router rotates in a clockwise direction, as
viewed from the top of the router. The correct
relationship between direction of router bit or
cutter rotation and router feed is shown below.
It is very important to move the router in the
proper direction or router bit chatter and rough
cutting will be the result. As an example, to
rout a decorative edge on the front of a table top,
you would move the router from left to right to
perform the operation, or counter-clockwise
BM 2610967928 1/97
around the workpiece. If you were cutting an
opening in the center of a panel, you would feed
the router in a clockwise direction, so that the
edge of the opening would be cut against the
rotation of the router bit as described, and have
a smooth finish. Whenever you are cutting
completely around a workpiece, it is advisable
to cut across the grain first, so any corner
tearout may be smoothed by cutting with the
grain on the second pass.
WORK
When routing or doing related work in wood
and plastics, the best finishes will result if the
depth of cut and feed rate are regulated to keep
the motor operating at high speed. Feed the
router at a moderate rate. Soft materials require
a faster feed rate than hard materials.
The router may stall if improperly used or
overloaded. Reduce the feed rate to prevent
possible damage to the tool. Always be sure the
collet nut is tightened securely before use.
Always use router bits with the shortest cutting
length necessary to produce the desired cut.
This will minimize router bit run-out and chat-
ter.
The router is equipped with an exclusive quick-
change templet guide mechanism, which firmly
grips the guides with a spring-loaded ring built
into the base. To in-
sert or change the
templet guide 24, re-
tract the templet
guide lock/release
lever 6. Align any
two of the four cut-
away tabs on the
templet guide to the
two cast-in bosses in
the templet guide re-
cess of the base.
8
8
CUTTER
DIRECTION
OF FEED
Rate of Feed
Templet Guides
6
24
23
26
12/7/98, 10:29 AM
