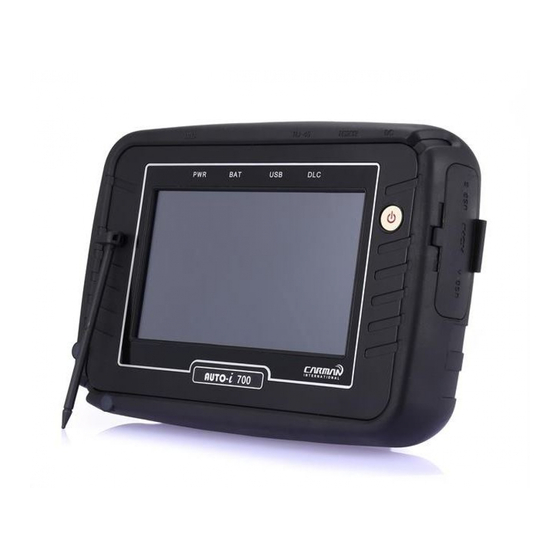
Carman AUTO-i 700 빠른 매뉴얼 - 페이지 3
{카테고리_이름} Carman AUTO-i 700에 대한 빠른 매뉴얼을 온라인으로 검색하거나 PDF를 다운로드하세요. Carman AUTO-i 700 4 페이지.

How to use
1. Check a location of diagnostic connector on a car.
- If your car usesOBD-II, most diagnostic connector is
located between a handle and a brake pedal.
- If your car is old one, not supporting OBD-II, it requires a
additional connector. Check a proper connector among
what we supplies. Location of the connector may be
different according to car models.
3. Turn on AUTO-i 700.
- Press power button for a second to start boot with
booting sound.
(Use only our AC/DC power adapter. Use your scanner
after charging batter fully.
- Remove a protection film before using it.
How to download programs
AUTO-i 700 needs diagnostic program to operate. Also, it is required to update new software and firmware sometimes
for new vehicle model and new system.
- Please contact to where you purchased about downloading latest software for update.
- Please refer to how to download on our website.
Website: http://www.carmanit.com/eng
- In the future, you may download a software automatically via Wi-Fi without connection of cable and may print captured
screens wirelessly. (Printing wirelessly requires a PC connected to internet.) Soon we will make a notice in our website after
completing development.
2. Connect the AUTO-i 700 to a diagnostic connector on
your car through DLC main cable. If your car supplies power
to AUTO-i 700, PWR light on the front side of the AUTO-i
700 will be turned on. If so, you do not need to connect
power cable.
4. Select a car model.
- Chose a region on the left side to see the region`s car.
- 'Total' shows all car brand in alphabetical order.
- 'Favorite' shows what you saved as a favorite.
