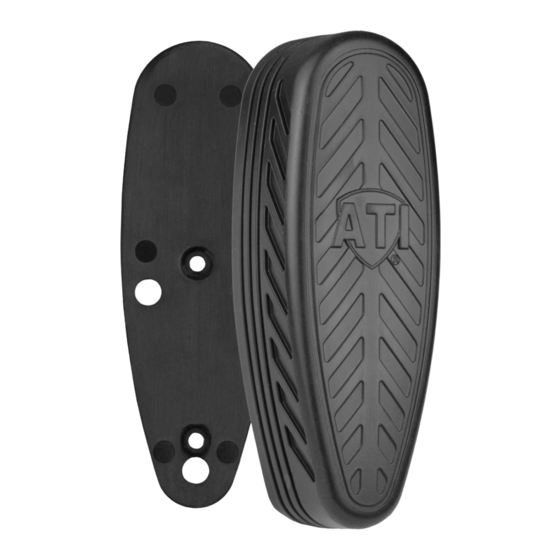
ATI Technologies Scorpion X2 설치 지침 - 페이지 2
{카테고리_이름} ATI Technologies Scorpion X2에 대한 설치 지침을 온라인으로 검색하거나 PDF를 다운로드하세요. ATI Technologies Scorpion X2 2 페이지.

Step #4
With the template secured to the buttstock, use a
1/4" drill bit to drill 2 straight holes on each side of
the buttstock. Use the designated "X" in circles on
the template as markers for these 2 holes.
NOTE: ATI is NOT responsible for broken drill bits
Figure 4
Step #5
Using the circle on the template and the same 1/4"
drill bit, drill the single hole on the bottom of the
buttstock 1/8" deep.
NOTE: This hole will not be drilled through, you
must only drill 1/8" into the buttstock. The best
way to drill 1/8" is to measure 1/8" from the edge
of the drill bit and then place tape at the 1/8"
mark so you don't drill any deeper.
Figure 5A
-Installation Instructions-
Thank you for purchasing an ATI product!
Buttpad Installation
1/8"
Figure 5B
Scorpion X2 Pad
Part # A.5.10.1015
Step #6
Remove the buttpad template and clean the
buttstock of any burrs and drilling material.
Step #7
Place the buttpad on the rear of the buttstock and
using a T-20 torx driver, install the (2) 8 x 48-2 x 1/2"
plastite torx head screws until snug.
Figure 6
Figure 7
Page 2
