COMMUNICATIONS-APPLIED TECHNOLOGY AMCVIS 운영 매뉴얼 - 페이지 7
{카테고리_이름} COMMUNICATIONS-APPLIED TECHNOLOGY AMCVIS에 대한 운영 매뉴얼을 온라인으로 검색하거나 PDF를 다운로드하세요. COMMUNICATIONS-APPLIED TECHNOLOGY AMCVIS 16 페이지. Advanced multi-channel vehicle intercom system (amcvis) with digital crew control

2. AMCVIS ADJUSTMENTS PRIOR TO OPERATION
2.1.
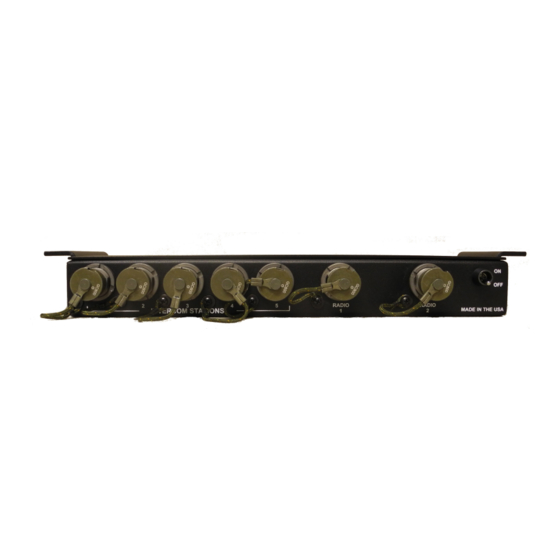
Securely connect power cable into the IMU power jack. When the power switch is in the "ON" position,
the Red LED on the right side of the IMU will be lit.
Securely connect the radio cables into the IMU Radio jacks.
Connect at least two ICUs into the jacks on the IMU, labeled "INTERCOM STATIONS".
Connect at least two headsets to the ICUs.
2.2.
AND INTERCOM HEADSETS (NO TEST EQUIPMENT IS REQUIRED):
2.3.
Set the radio's volume control to a mid-position between fully CCW and fully CW.
2.4.
NOTE: NO FURTHER ADUSTMENTS SHOULD BE NECESSARY. WE SUGGEST THAT
THE FOLLOWING ADJUSTMENTS SHOULD ONLY BE MADE IF THE AUDIO LEVELS
BETWEEN RADIO USERS AND/OR INTERCOM USERS AND INTERCOM USER AND/OR
RADIO USERS IS DEEMED UNACCEPTABLE.
After removing the "Radio Audio Level Adjustment" protective panel, use a 3/32 flat tip screwdriver to
rotate the trim pot adjustments. Turning the adjustment clockwise increases the audio level and counter
clockwise decreases it. Each trim pot has only 270º of rotation. DO NOT FORCE THE ADJUSTMENT
PAST ITS MECHANICAL STOPS.
To Radio #1
Set for undistorted audio from a headset to radio #1. Set with headset microphone place close to
speaker's lips. Radio # 1 must be selected at the ICU and the Radio P-T-T must be depressed and held.
From Radio #1
Set for maximum undistorted audio at a headset from radio #1. Set with ICU volume control fully
clockwise and Radio output volume set to a mid position.
CONNECTING IMU COMPONENTS:
ADJUSTING AND BALANCING THE AUDIO LEVELS BETWEEN RADIOS
RADIO PRE-ADJUSTMENT:
AMCVIS IMU ADJUSTMENTS:
FIGURE 5: AUDIO ADJUSTMENT POTS
- 6 -
