Andesfit Health ADF-B27A 사용자 설명서 - 페이지 11
{카테고리_이름} Andesfit Health ADF-B27A에 대한 사용자 설명서을 온라인으로 검색하거나 PDF를 다운로드하세요. Andesfit Health ADF-B27A 18 페이지.

Fingertip testing
Hold the lancing device firmly against the side
of your finger. Press the release button. You
will hear a click, indicating that the puncture
is complete.
Choose a different spot each time you test. Repeated
■
punctures at the same spot may cause soreness and calluses.
Please consult your health care professional before you
■
begin AST.
It is recommended to discard the first drop of blood as it
■
might contain tissue fluid, which may affect the test result.
Performing a Blood Glucose Test
Step 1.
Wash hands with soap and warm water.
Step 2.
Remove a test strip from its vial. With clean, dry hands, you may
touch the test strip anywhere on its surface. Do not bend, cut or
modify the test strips in any way. Remove the test strip from the
vial and use it instantly.
Step 3.
Insert the test strip into the meter's test port and the meter is
turned on. The time and date appears on the screen.
NOTE: Be sure to use "Andesfit" test strips, other test
strips may not produce accurate results.
Step 4
When the blood drop symbol flashes on the
screen, you may select the appropriate measure-
ment mode, for selecting the measurement mode
of Control(CTL) or General, please refer to the
"THE TWO MEASURING MODES" section.
Step 5
Apply your blood to the absorbent hole of the test strip.
Step 6
As soon as enough blood has filled the confir-
mation window of the test strip, you will hear a
beep letting you know the test has begun. A
countdown of 5 seconds starts.
Note: make sure the confirmation window of the Test Strip is
completely filled with your blood sample.
Step 7
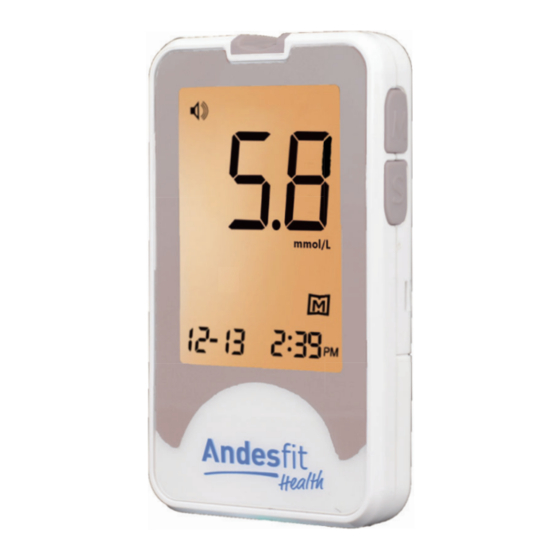
Your blood glucose level, along date and time
appears on the display. Blood glucose results
are automatically stored in the memory.
When bluetooth connected, Bluetooth symbol flashing,
and waiting for other device with Bluetooth to scan and
connect, then upload the test results data.
