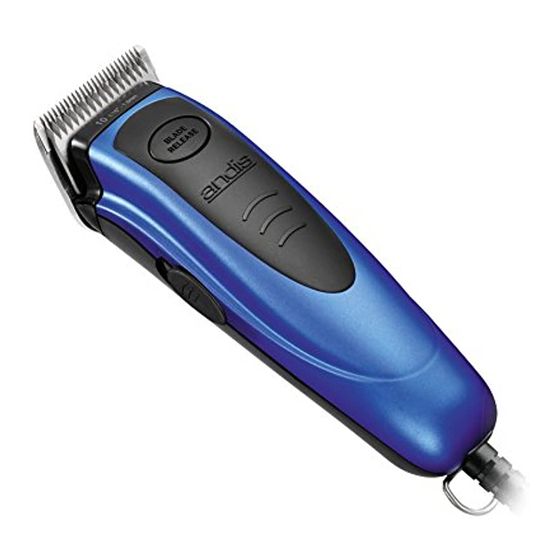
Andis 60130 사용 및 관리 지침 매뉴얼 - 페이지 3
{카테고리_이름} Andis 60130에 대한 사용 및 관리 지침 매뉴얼을 온라인으로 검색하거나 PDF를 다운로드하세요. Andis 60130 16 페이지.

6. Keep the cord away from heated surfaces.
7. Never drop or insert any object into any opening.
8. Do not use outdoors or operate where aerosol (spray) products
are being used or where oxygen is being administered.
9. Do not use this appliance with a damaged or broken blade or
comb, as injury to the skin may occur.
10. To disconnect turn control to "OFF" then remove plug from outlet.
11. WARNING: During use, do not place or leave appliance
where it may be (1) damaged by an animal or (2) exposed to
the weather.
12. This appliance is intended for trimming purposes only.
13. Keep the air openings free of lint, hair, and similar objects.
SAVE THESE INSTRUCTIONS
THIS PRODUCT IS INTENDED FOR HOUSEHOLD ANIMAL USE ONLY
OPERATING INSTRUCTIONS
To reduce the risk of electric shock, this appliance has a polarized plug (one blade is
wider than the other). This plug will fit in a polarized outlet only one way. If the plug
does not fit fully in the outlet, reverse the plug. If it still does not fit, contact a
qualified electrician to install the proper outlet. Do not change the plug in any way.
Before starting clipper remove blade guard. Plug cord into electrical outlet, operate at
120 volt, 60 cycle AC electrical current or as noted on the unit. To start clipper move
switch button to "ON" position, to stop, move switch button back to original position.
After using your Andis clipper, rewrap cord and store in a safe place.
BLADE SETS
(Contents may vary by kit)
Your Andis clipper comes with a Size 10 blade (on clipper) and an additional Size 7FC
blade. A Size 4FC blade is also available for purchase (Figure A). The blade size is
indicated on the blade set. Use the clipping guide in this manual to find the
approximate length of cut for each blade set.
REMOVING BLADE SET
To remove blade set, first make sure your clipper motor is switched "OFF". Push
blade release button on top of clipper (Figure B). After the blade releases from the
clipper, slide it off the blade hinge (Figure C). NOTE: Hair may accumulate in the front
cavity of the housing under the blade. If this happens, you can clean out the hair by
brushing out the cavity with a small brush or an old toothbrush while the blade is off
the clipper.
REPLACING OR CHANGING BLADE SET
To replace or change your blade set, slide the blade bracket onto the hinge of the
clipper (Figure C). Push the blade toward the clipper to lock into position.
3
