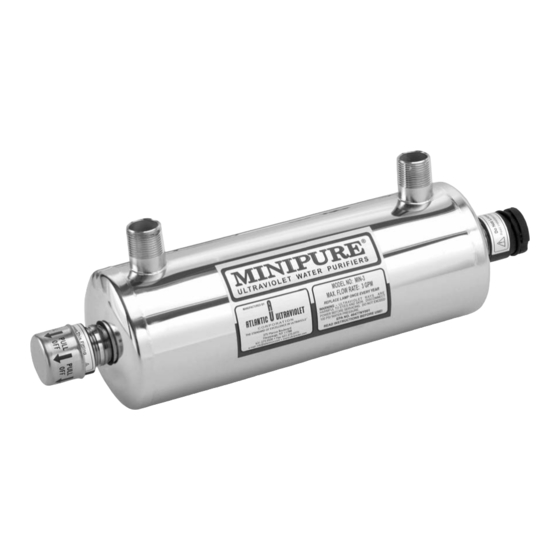
Atlantic Ultraviolet MIN-1 소유자 매뉴얼 - 페이지 6
{카테고리_이름} Atlantic Ultraviolet MIN-1에 대한 소유자 매뉴얼을 온라인으로 검색하거나 PDF를 다운로드하세요. Atlantic Ultraviolet MIN-1 16 페이지. Ultraviolet water purifiers
Atlantic Ultraviolet MIN-1에 대해서도 마찬가지입니다: 소유자 매뉴얼 (16 페이지)

I
NSTALLATION
1. Remove water purifier from shipping carton. Inspect water purifier, power cord and plug for damage. Do not operate if
there is any damage to the purifier, power cord or plug. All models, of the MINIPURE
shipped with the lamps packed separately. Keep the lamp aside for installation once the purifier has been properly installed.
2. Units occasionally experience damage in shipment due to the fragility of the quartz sleeve. It is therefore
recommended to inspect the water purifier for damage to the quartz sleeve after it has been removed from the
shipping carton. Each end of the unit as well as the inlet and outlet should be viewed to see if the quartz sleeve has
experienced damage. If the quartz sleeve shows signs of damage it should be replaced before the purifier is
pressurized. See "QUARTZ SLEEVE CLEANING OR REPLACEMENT" in the "MAINTENANCE" section for the
proper method of replacing the quartz sleeve in your water purifier.
COMMON
PRE-TREATMENT or
PUMPING DEVICES
Incoming
1. Deionizer
Water
2. Water Softener
Supply
3. Carbon Filters (GAC)
4. Pressure Tank
5. Pump
6. Reverse Osmosis
7. Prefilters
Ultraviolet Water Purifiers
should be installed closest
to the point of use. (POU)
3. The water purifier should be mounted horizontally on a flat dry surface. The purifier should not be solely supported by its
plumbing connections. Securing the water purifier using the optional wall universal bracket kit is recommended.
4. The water purifier must be connected to the cold water line only.
5. It is recommended that a 5-micron sediment filter be installed, in line, prior to the water purifier. The sediment filter will
stop or trap any particulates from entering the water purifier. Particulates may cause damage to the quartz sleeve, as well
as interfere with the purifier's ability to disinfect the water. The sediment filter may also help to reduce the amount of
routine cleaning of the quartz sleeve.
6. Shut off valves should be installed on both the inlet and outlet sides of the water purifier. The use of bypass valves is not
recommended. The shut off valves allow the purifier to be isolated from the water supply, which is required when
removing the quartz sleeve.
7. Unions should be installed on both the inlet and outlet of the water purifier; this will allow easy removal of the water
purifier from the plumbing, if required. Apply Teflon ® tape to threads of inlet and outlet ports to ensure a tight seal.
8. When all plumbing connections are complete, allow water to enter the water purifier at a low flow rate, until the purifier is
pressurized. With the purifier pressurized, it should be checked for leaks. Once it is determined that there are no leaks, the
inlet valve can be fully opened.
9. Unpack the lamp and ballast. While holding lamp end, carefully push lamp socket on. Carefully slide lamp straight into
the quartz sleeve, without angling. Push the end cap on, over the static gland nut. Attach the ground connector to the
grounding tab of the chamber.
!
CAUTION: Lamp and quartz sleeve are easily damaged. Exercise care when installing lamp.
10. Plug ballast into an approved Ground Fault Circuit Interrupt (GFCI) receptacle. Where a 2-prong or unprotected 3-prong
receptacle is encountered, it must be replaced by a properly grounded Ground Fault Circuit Interrupt (GFCI) receptacle.
Installation must be in accordance with the National Electrical Code and any local codes and ordinances by a qualified
Electrician.
11. Once the plumbing hook ups are made, it is a good practice to disinfect the "downstream" plumbing. This is done by
introducing chlorine or other disinfectant solution directly into the purifier chamber, a 100-ppm of chlorine is suggested.
With the disinfectant solution in the purifier chamber, turn the ultraviolet purifier on. Open the "downstream" outlet until a
chlorine odor is noticed. Close the outlet and allow the disinfectant to remain in the plumbing for at least three (3) hours.
Flush the plumbing with ultraviolet purified water; allow the water to run for several minutes before use, this will allow
the ultraviolet lamp to reach its full germicidal output.
6 6
Figure 1 - Recommended Installation
Cold Water Line
OPTIONAL EQUIPMENT
Flow Control Valve
5 Micron
Filter
Valve
Union
Elbow
Elbow
Ultraviolet
Water Purifier
OPTIONAL EQUIPMENT
Mounting Kit
TM
line of water purifiers, are
POINT OF USE (POU)
Ultraviolet Water Purifiers
should be installed closest
to the point of use.
Outlet Line to point of use
to be as short as possible
Valve
Union
"X"
Recommended Minimum
Clearance for Lamp or
Quartz Sleeve Removal
