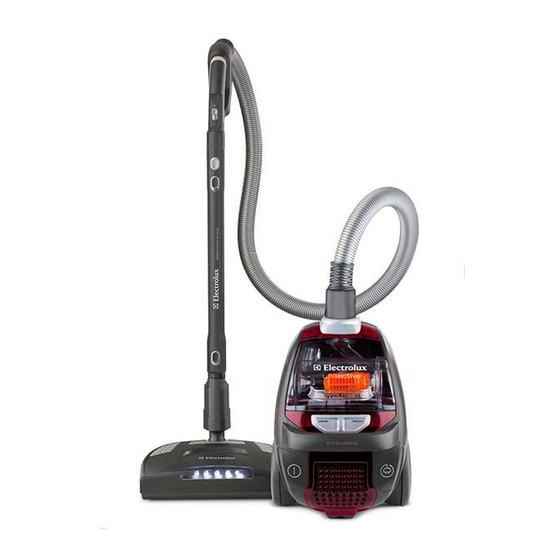
Electrolux EL4300 서비스 매뉴얼 - 페이지 26
{카테고리_이름} Electrolux EL4300에 대한 서비스 매뉴얼을 온라인으로 검색하거나 PDF를 다운로드하세요. Electrolux EL4300 37 페이지.

3.4 Nozzle power supply interface
For vacuum cleaners without AUTO mode function:
button 1
turns on or off the cleaner
button 2
turns on or off the nozzle motor (handled by the
Aeropro PCB)
button 3
increases the cleaner power in up to 5 power steps
button 4
decreases the cleaner power in up to 5 power steps
3.5 Brush nozzle PCB 230V/110V active remote
The remote control for the Aeropro 230V/110V active system are a two wire connected PCB
assembled in the cleaners bent end. From the remote control it is possible to control the cleaner functions.
Note: PCB working with live voltage – 230/110V.
3.6 Standby indication (for both RF and active versions)
When the main is connected, and the cleaner is in standby mode. This is indicated by "0" on the LED
display.
3.7 Reprogramming RF remote controller
When changing to a new RF transmitter (or bent-end with new transmitter), the cleaner must learn the
new identity of the new transmitter.
The learning process is done in following way:
-
Press ON/OFF button on cleaner and keep it pressed while inserting the main plug.
-
Keep the ON/OFF button pressed until the segment display LED indicates "C", the cleaner is now in
RF learning mode. Release the ON/OFF button.
-
On the remote control press the ON/OFF button.
-
If the cleaner have received the new RF remote address the segment LED will first indicate "L",
learning, and after that "F", programming its memory. After successful learning process the display
will show "0"
-
Start the cleaner either with the remote control or on the cleaner.
EN
Publication number
1
Rev. xx
Month/year
Nr
26
4
3
2
PR - 26/37
