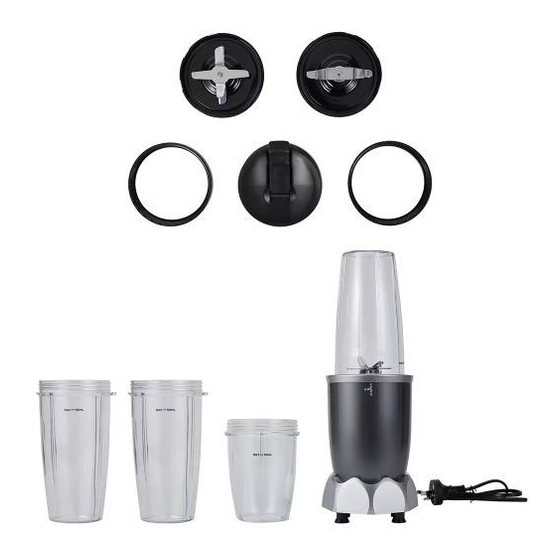
anko WBL-2105 사용자 설명서 - 페이지 7
{카테고리_이름} anko WBL-2105에 대한 사용자 설명서을 온라인으로 검색하거나 PDF를 다운로드하세요. anko WBL-2105 9 페이지.

NOTE: The blender has a built-in safety lock feature, this ensures that you can only switch ON the
appliance while the jug and the blade assembly are assembled on the motor base securely.
IMPORTANT: In the base of each blade's collar, there is a silicone gasket seal that creates an airtight
fit with the jugs. After washing and before each use, always check to make sure the gasket is properly
in place.
WARNING! To prevent product overheating, dry ingredients must not be processed for more than
30 seconds at a time.
TROUBLESHOOTING
PROBLEMS
Motor doesn't start or attachment
doesn't rotate.
Food is unevenly chopped.
Food is too finely chopped or too
watery
You cannot achieve snow from ice
cubes.
Jug is leaking
Unit doesn't turn on
Unit doesn't turn off
Doesn't mix well
Blade assembly will not properly
align to the jug
POSSIBLE REASONS & SOLUTIONS
For the jug, make sure that the tabs are seated in the slots and
turned clockwise.
You are chopping too much food at one time, or you are not
pulsing properly. Reduce the amount of food in the jug.
The food has been over processed. Use short operating for best
results.
For best result use ice straight from the freezer. Try using short
operating instead of long one.
Make sure the jug is completely dry before adding ice.
Make sure that your blade assembly is properly assembled to
the jug. Leaking may occur if it is misaligned when twisted
onto the jug. Turn the blade assembly tightly clockwise.
Make sure the unit is plugged in.
Make sure the blade assembly is properly assembled to the jug
and that is not misaligned.
Unplug the power cord from the electrical power outlet and
call Kmart customer service for support.
Pulse ingredients for best results. Press down on the jug in
short intervals for even blending and chopping. For frozen
ingredients, pulse in short intervals of 2-5 seconds and repeat.
Set the jug on a level surface. Place the blade assembly on top
of the jug and align the threads so that the blade sits flat on the
jug. Twist clockwise so that the blade aligns to the jug until
you have a tight seal.
6
