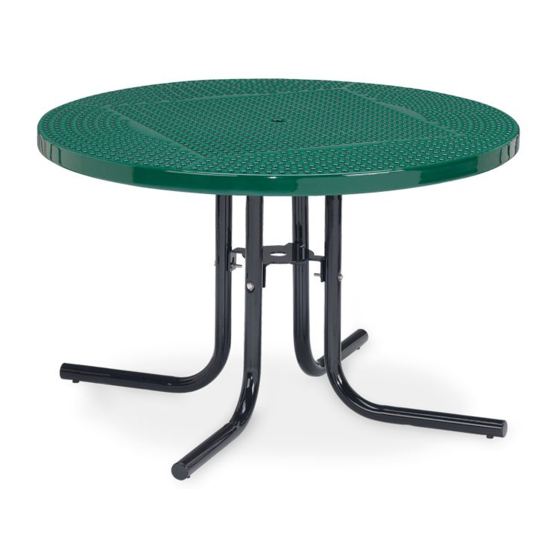
Anova F1147 조립 지침 - 페이지 2
{카테고리_이름} Anova F1147에 대한 조립 지침을 온라인으로 검색하거나 PDF를 다운로드하세요. Anova F1147 3 페이지.
Anova F1147에 대해서도 마찬가지입니다: 조립 지침 (2 페이지)

Locate the rubber feet and insert one in each of the two outside
7.
holes on the bottom of each of the table top supports.
Use the rubber mallet to set the feet if necessary.
8.
Locate the cross brace and position it in the center of the table top supports so that the mounting holes in the brace line up
with the mounting holes in the supports.
Place a flat washer on one of the 2 1/2" Phillips head screws and insert the screw through one of the table top mounting holes
and through the matching hole in the cross brace.
Place a flat washer on the screw and then tighten it finger tight with a nylock nut.
Repeat this process for the three remaining cross brace mounting holes.
Table Top Support
9.
Turn the table right side up.
10.
Level the table top while tightening all of the hardware.
11.
Move the table to the location where it will be used.
12.
After two weeks, retighten all of the hardware.
2
5/16" Flat Washer
Cross Brace
5/16" -18 Nylock Nut
Install Rubber Feet in
the two outside holes
5/16" Flat Washer
5/16 - 18 x 2 1/2"
Phillips Head Screw
