concept 2 DYNO 조립 지침 매뉴얼 - 페이지 4
{카테고리_이름} concept 2 DYNO에 대한 조립 지침 매뉴얼을 온라인으로 검색하거나 PDF를 다운로드하세요. concept 2 DYNO 12 페이지.

Tools required
• Phillips screwdriver
• Flat blade screwdriver
• (2) 9/16" box end wrench (included)
• 1/2" box end wrench (included)
• rubber mallett (not shown) may be helpful
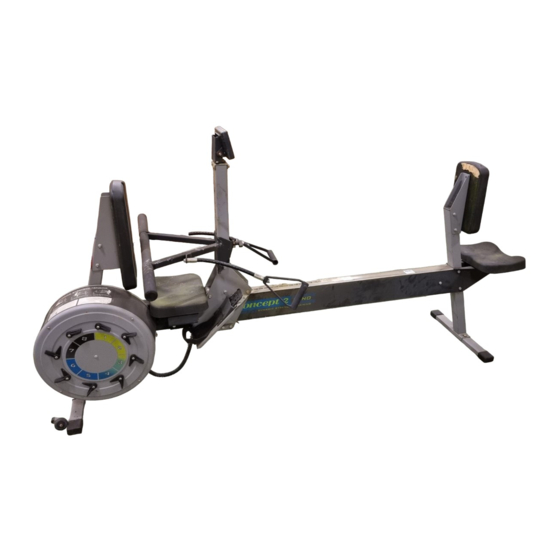
4a. Slide the square end of the Monorail onto
monorail extension of the Flywheel Assembly.
The Concept2 logo should appear right side up
Prop up the monorail to keep it horizontal.
NOTE: Route the chain over the top of the plastic
monorail end stop before fully assembling.
2. Attach the Push Side Foot Assembly to the
Flywheel Assembly using two of the 3/8" by 5/8"
bolts. Note the orientation of the caster wheels.
Tighten bolts.
3. Carefully remove the plastic bag that is covering
the chain coming out of the front of the Flywheel
Assembly. Allow the chain to partially unroll to the
floor. Remove the twist-tie that has been put
through the chain near the sprocket. Check that the
chain is on the small sprocket. See below.
4b. Put in the two lower 3/8" by 5/8" bolts on each
side of the Monorail as shown. Do not tighten
bolts yet. (Do not put in the top pair of bolts
yet.) If you have trouble starting the bolts,
support the Monorail from below to help align
the holes.
2
11/01
