ADDER AdderLink X100 사용자 설명서 - 페이지 6
{카테고리_이름} ADDER AdderLink X100에 대한 사용자 설명서을 온라인으로 검색하거나 PDF를 다운로드하세요. ADDER AdderLink X100 19 페이지. Extender set
ADDER AdderLink X100에 대해서도 마찬가지입니다: 사용자 설명서 (19 페이지)
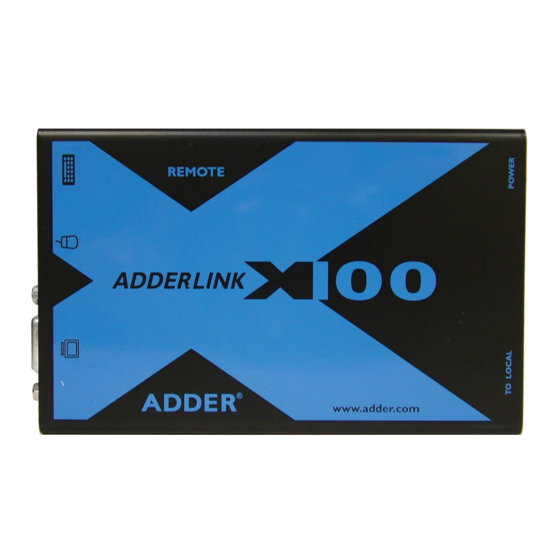
Connections at the X100 receiver
1 Place the X100 receiver adjacent to the remote user location.
2 Attach the video monitor, keyboard, mouse (and, optionally for X100A
and X100AS users, speaker) connectors to the sockets of the Adder X100
receiver.
From mouse
From keyboard
From video monitor
3 Attach the connector of the cable run leading from the local device to the
TO LOCAL
Category 5, 5e or 6
cable leading to the
Adder X00
module
4 (X100A and X100AS models only) Insert the speaker connector to the light
green coloured socket situated between the link connector and the power in
socket.
5 Insert the output connector of the power supply into the socket at the front
edge of the X100 receiver labelled
6 Insert the IEC connector of the supplied power lead into the corresponding
socket of the power supply. Connect the other end of the power lead to a
nearby mains socket.
7 Where necessary, use the in-built video compensation feature to eliminate
any effects caused by the cable run. See
socket of the X100 receiver.
local device
From
From
speakers
power
(X00A and
adapter
X00AS models
only)
.
POWER
Video.compensation
Adder X00
module
for details.
5