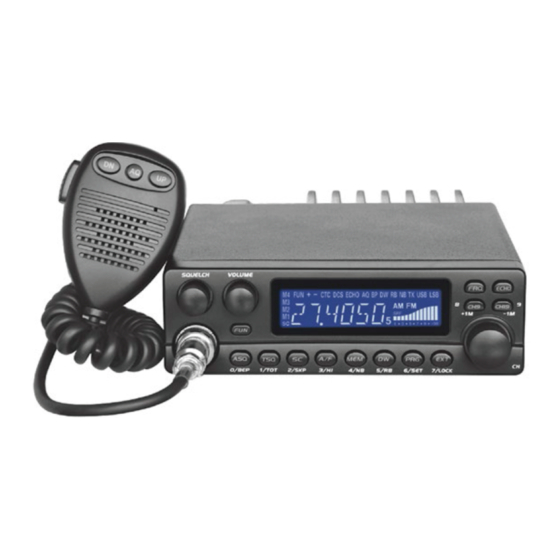
AnyTone AT-5289 사용자 설명서 - 페이지 5
{카테고리_이름} AnyTone AT-5289에 대한 사용자 설명서을 온라인으로 검색하거나 PDF를 다운로드하세요. AnyTone AT-5289 13 페이지.

c) It is necessary to connect your radio to a permanent (+) and (-). We
advise you to connect the power cable directly to the battery (as the
connection of the cable to the wiring of the car-radio or other parts of
the electrical circuit may, in some cases, increase the possibilities of
interference).
d) Connect the red wire (+) to the positive terminal of the battery and the
black (-) wire to the negative terminal of the battery.
e) Connect the power cable to your CB radio.
WARNING: Never replace the original fuse (5A) by one of different value.
BASIC OPERATIONS
41
a) Connect the microphone
b) Check the antenna connections
c) Turn the set on by turning the volume knob clockwise
d) Turn the squelch knob to minimum(Full-anti clockwise)
e) Adjust the volume to a comfortable level
f) Go to channel 20 EC by using the channel knob.
2
ADJUSTMENT OF SWR (standing wave ratio)
51
WARNING: This must be carried out when you use your radio for the first time
(and whenever you re-position your antenna). The adjustment must be carried
out in an obstacle-free area
*Adjustment should be operated with external SWR meter.
a) To connect the SWR meter
Connect the SWR meter between the radio and the antenna as close
as possible to the radio (use a maximum of 40cm cable)
b) To adjust the SWR meter -Set the to channel 20@EC band in FM
-put the switch on the SWR meter to position CAL or FWD -Press the
PTT switch on the microphone to transmit.
-Bring the index needle to ▼ by using the calibration key
-Change the switch to position SWR (reading of the SWR level) The
reading on the meter should be as near as possible to 1. If this is
not the case, re-adjust your antenna to obtain a reading as close as
possible to 1.( An SWR reading between 1 and 1.8 is acceptable).
-It will be necessary to re-calibrate the SWR meter after each
adjustment of the antenna.
Your radio is now ready for use
