3P Technik DTC200 설치 및 운영 매뉴얼 - 페이지 10
{카테고리_이름} 3P Technik DTC200에 대한 설치 및 운영 매뉴얼을 온라인으로 검색하거나 PDF를 다운로드하세요. 3P Technik DTC200 16 페이지.

Startup Screen Menus and Functions
Upon first applying power, the LCD panel will display a startup logo followed by automatic calibration of the
rainwater tank sensor for approximately 3 seconds, and then immediately commence operation. The main
screen displays the following information:
Tank State (Tank Filling/Full/Tank Emptying)
Dosing State (Dosing/Reacting)
Time Remaining if a timed operation is in progress
Menu Options
Accessing the Menu Options
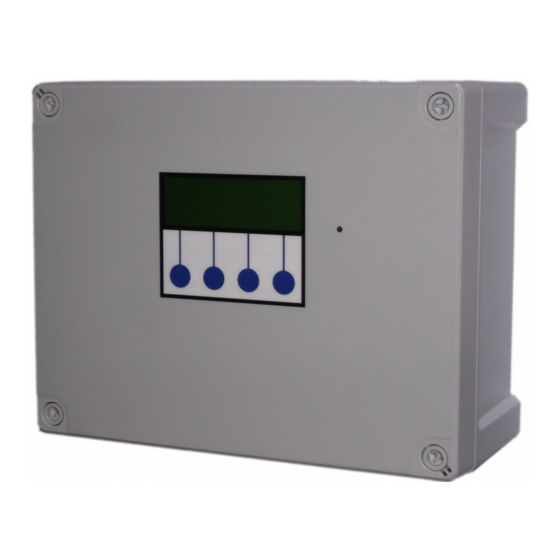
The last line of the display always shows up to four menu options, which can be selected by pressing one of
the four corresponding buttons beneath the display. The menu options displayed will change as you enter
different areas of the software.
Status Screen
Accessing the Main System Menu
While in the main status screen, button 1 can be used to access the menu for configuration. Whilst in this
area all operation is halted while parameters are being set by the operator. To exit press "Run" or "Exit".
Main Menu
Provides access setup and diagnostic functions, or resume operation by pressing RUN.
Setup Menu
Provides access to
1. Dosing Mode
2. Timer Settings
3. Alarm Enable/Disable
Dosing
By pressing the change button you can switch operation between Dose While Filling or Dose After Filling.
The default setting is Dose After Filling in which the tank is filled, chemical dosing occurs followed by a
reaction delay and the tank is emptied.
Dose While Filling starts the chemical dosing pump as the tank begins to fill and begins the dosing timer.
Once the timer expires the tank will continue to fill and once full the reaction delay will start. In the event
that the tank fills before dosing is completed then the dosing will continue until it's time is completed and
the reaction delay begins. This mode reduces the total duration of the processing cycle.
DTC200 V1.20
Page 10
22/01/20
