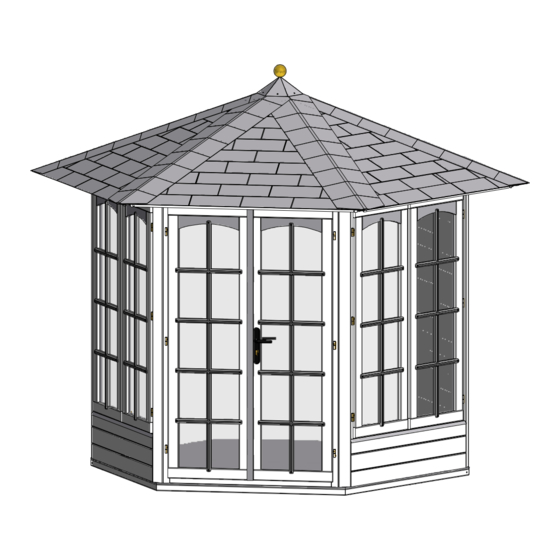
Dunster House Vantage 250 설치 매뉴얼 - 페이지 6
{카테고리_이름} Dunster House Vantage 250에 대한 설치 매뉴얼을 온라인으로 검색하거나 PDF를 다운로드하세요. Dunster House Vantage 250 15 페이지. Hexagonal summerhouse 2.5m x 2.1m

Step 2B: Wall Panel (Top Half)
Item: 1x WP-1145SH-AT (Wall Top Half)
6x 60mm screws
Step 3: Wall Panels (Follow the same procedure as Step 2 to fix the remaining walls)
Item: 2x 86x65x1870.A (Wall Post)
2x WP-1145SH-AB (Wall Bottom Half)
2x WP-1145SH-AT (Wall Top Half)
30x 60mm screws (15 per Wall)
WP-1145SH-AT
86x65x1870.A
Step 4: Window & Door Panels (Follow the same method as Step 2)
Item: 2x 86x65x1870.A (Wall Post)
2x WP-DW
(Window Panel)
1x WP-DD
(Door Panel)
1x Door Handle Set
45x 60mm screws (15 per panel)
WP-DW
Note: Ensure the panels overhang the floor edges by
approximately 10mm as in Step 2.
All dimensions are approximate and subject to the limitations of the material used and the methods of manufacture.
Vantage 250 Hexagonal Summer House
WP-1145SH-AT
WP-1145SH-AB
WP-1145SH-AB
86x65x1870.A
WP-DD
86x65x1870.A
60mm Screws
WP-DW
WP-DD
Wall panel and post should be flush at the top.
If post is higher, cut off to level with the wall.
WP-1145SH-AT
86x65x1870.A
WP-DW
86x65x1870.A
Door Handle Set
Page-4
