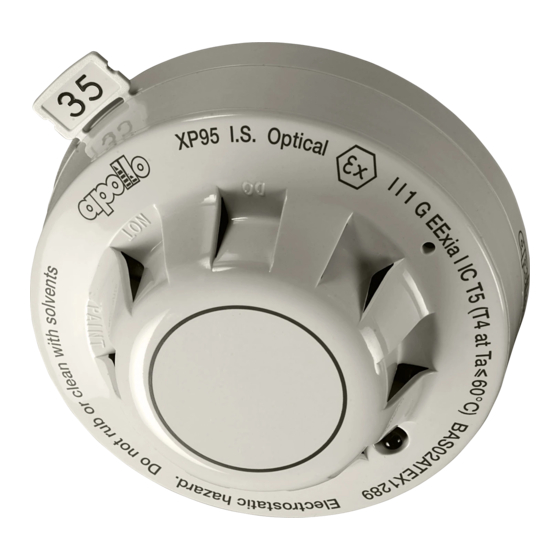
Apollo Smoke Detector XP95 설치 매뉴얼 - 페이지 14
{카테고리_이름} Apollo Smoke Detector XP95에 대한 설치 매뉴얼을 온라인으로 검색하거나 PDF를 다운로드하세요. Apollo Smoke Detector XP95 18 페이지. Input/output unit
Apollo Smoke Detector XP95에 대해서도 마찬가지입니다: 설치 및 유지 관리 매뉴얼 (4 페이지), 설치 매뉴얼 (2 페이지), 설치 매뉴얼 (2 페이지), 설치 매뉴얼 (2 페이지), 빠른 시작 매뉴얼 (2 페이지), 빠른 시작 매뉴얼 (5 페이지), 설치 매뉴얼 (2 페이지)

Notes
1. When the beam detector interface is in alignment
mode, the fault LED will be continuously lit and a
fault signal (analogue value 4) will be transmitted
to the control and indicating equip ment.
2. The signal HI and LO LEDs (green) on the interface
operate only when the beam detector is in alignment
mode. Only one LED will operate at any given
time.
3. The beam detector interface is factory programmed
to report a fault condition, regardless of whether or
not it is in alignment mode, whenever the interface
is powered up for the very fi rst time and the beam
has not been aligned. This fault condition will only
be cleared following successful initial alignment and
is designed as a safeguard against poor installation
and alignment practice.
4. Alignment checks are recommended once per an-
num. To check the alignment, switch the alignment
switch in the interface to 'alignment' and check that
only the yellow fault LED is lit. If either green 'HI'
or 'LO' LEDs are lit, it will be necessary to re-align
the beam detector.
5. If at any time components of the system are ex-
changed the beam detector must be realigned.
Information exchanged between the interface and
the receiver head is specifi c to individual receiver
heads and interfaces.
6. If the fault LED fl ashes at any time, a fault signal
will be sent to the control panel. The fl ash indicates
that the data in the receiver and the interface do not
match. This may be due to a number of causes,
such as handling the PCB without taking anti-static
precautions or a mis match of trans mit ter/ receiver
sets after dis man tling and re-installation. In such
a case the beam detector must be re-aligned.
www.acornfiresecurity.com
1. Alarm test using fi lter
Hold the test fi lter over the lens of the receiver.
After approximately 8–10 seconds an alarm will
be signalled and the red LED in the receiver will
fl ash. Check that an alarm has been registered at
the control panel. Remove the test fi lter and the
alarm will reset after ap prox i mate ly 30 sec onds.
2. Total obscuration test
Depending on the total obscuration option selected,
a fi re or fault is signalled if the beam path is blocked
by more than 93% for greater than 8 seconds.
To carry out this test, cover the receiver so that
it registers no light at all. Wait 8 seconds for the
detector to react and 3 seconds for the interface to
operate. Then check that the alarm or fault LED
on the interface is il lu mi nated and that a fi re or fault
signal is registered at the control panel.
After removal of the blockage the beam detector
resets after 20–30 seconds, depending on the op-
tion selected.
3. Response to protocol commands
Finally, perform a test of the beam detector re-
sponse to control panel commands.
The XP95 beam detector responds to output bits
from the XP95 protocol as follows:
When output bit 2 is set to logic 1 on two or more
consecutive pollings the beam detector performs an
alarm LED test. The red alarm LED on the inter-
face is illuminated and the red LED in the receiver
fl ashes.
When output bit 1 is set to logic 1 on two or more
consecutive pollings the beam detector carries out
an interface self test. The interface transmits a 'fi re'
signal, ie, analogue value 64, to the control panel
and the red LED in the receiver fl ashes.
When output bit 0 is set to logic 1 on two or more
consecutive pollings, the remote indicator output
in the interface is enabled. The remote indicator
output is useful in locations where the interface is
not easily visible from the ground and confi rmation
of a fi re signal is required.
14
www.acornfiresecurity.com
