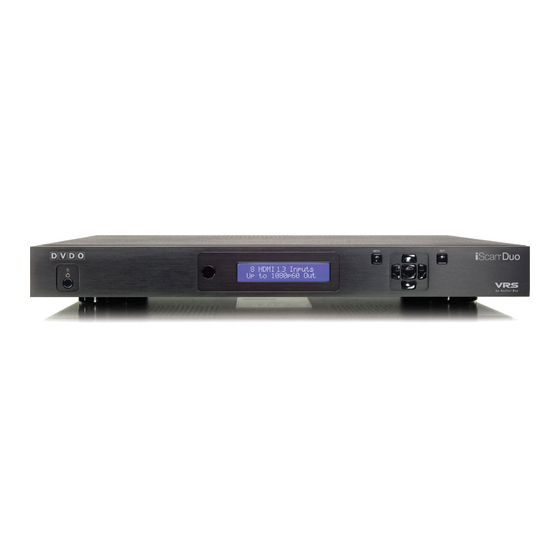
DVDO iScan Duo 빠른 시작 매뉴얼 - 페이지 2
{카테고리_이름} DVDO iScan Duo에 대한 빠른 시작 매뉴얼을 온라인으로 검색하거나 PDF를 다운로드하세요. DVDO iScan Duo 3 페이지. Dual output high-definition video processor
DVDO iScan Duo에 대해서도 마찬가지입니다: 사용 설명서 부록 (15 페이지), 소유자 매뉴얼 (16 페이지)

Status LED
Power
Video 3
Component 1
Video 1
Y (G)
Pb (B)
Pr (R)
VIDEO/S
VIDEO 3
1
1
S-VIDEO
2
2
A N A L O G V I D E O I N P U T S
S-Video
Component 2
Video 2
Quick Note
This Quick Start Guide has been created to assist you in the first step of setting up your iScan Duo system. It involves displaying the iScan
Duo's On Screen Display (OSD) on your screen.
Using the iScan Duo's OSD allows the user to navigate the menu system, and lets the user know that the iScan Duo is sending a compatible
signal to the display. If the OSD is not visible on the display's screen by pressing one of the sub-menu buttons on the remote control, then
the iScan Duo's output must be configured to work with the input that is being used on the display. Following all of the steps provided should
allow you to see the OSD.
To best set up your iScan Duo unit with your display, we recommend that you consult your iScan Duo Owner's Manual – Section 3 – Setup.
Instructions in bold apply to specific buttons on either the front panel or remote control of the iScan Duo. Instructions in italics (top line /
bottom line) apply to information that is displayed on the Front Panel Display (FPD).
STEP 1 - Powering Up
Attach the removable power cord to the external power supply. Plug the removable power cord into a wall outlet or power conditioner, if
applicable. Plug the small connector attached to the cable that comes out of the power supply into your iScan Duo. Your iScan Duo should
power on and display iScan Duo — DVDO on the FPD. The Status LED on your iScan Duo will turn red indicating that there are no active
inputs detected.
STEP 2 - Connecting the iScan Duo in your system
Displays with a Digital Input (HDMI or DVI-D)
HDMI is backwards compatible with DVI-D with the use of either a cable or adapter. Connect the iScan Duo's HDMI 1 output to your display.
If your display has an HDMI input, use an HDMI-to-HDMI cable. If your display has a DVI-D input, use an HDMI-to-DVI cable or adapter.
The default output on the iScan Duo is HDMI 1. The iScan Duo automatically outputs the preferred output format of your display. Once
connected, press the MENU button and you should see the iScan Duo's OSD.
Front and Back Panel
IR Window
Front Panel Display (FPD)
Digital Audio Inputs
Analog Audio Inputs
Coaxial
1 & 2
1
2
1
L
R
L
R
A N A L O G A U D I O I N P U T S
D I G I T A L
1
2
3
VGA
VGA Port
HDMI
Navigation Keys
Menu
MENU
Left
Optical
Optical Digital
12V Triggers
1 – 3
Output
1 & 2
2
3
12VDC 50mA MAX
1
2
A U D I O
I N P U T S
A U D I O
OUT
T RIGGER OUT
4
5
6
7
8
H D M I I N P U T S
HDMI Inputs
1–8
Y
P
P
B
R
Y
P
P
B
DVI-D
Enter
Up
Exit
EXIT
Down Right
HDMI Audio
Serial Port
Output
SERIAL PORT
AUDIO
12VDC 5A
1
2
I N
O U T
H D M I O U T P U T S
USB
I R
POWER
HDMI Outputs
Mini USB
Remote
Power
1–2
Port
Control
Jacks
R
G
B
P
/C
Y
P
/C
R
R
B
R
R
G
B
P
/C
Y
P
/C
R
R
B
H/Cs
V
B
H/Cs
V
B
