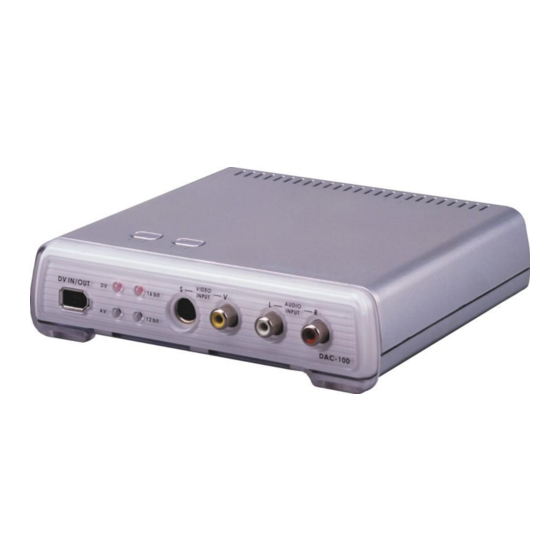
Datavideo DAC-200 설치 매뉴얼 - 페이지 14
{카테고리_이름} Datavideo DAC-200에 대한 설치 매뉴얼을 온라인으로 검색하거나 PDF를 다운로드하세요. Datavideo DAC-200 16 페이지. Important note to make dac-200 work with pinnacle dv500:
Datavideo DAC-200에 대해서도 마찬가지입니다: 시작하기 (13 페이지), 참조 매뉴얼 (1 페이지), 중요 참고 사항 (9 페이지)

- 1. Table of Contents
- 2. Warnings and Precautions
- 3. Warranty
- 4. Disposal
- 5. FCC & CE Certification (Radio & Television Interference)
- 6. What's in the Box
- 7. Key Features
- 7. Front Panel Control/Connection
- 7. Rear Panel Control/Connection
- 8. Operation Procedure
- 8. DIP Switch Settings
- 9. Installation / Connections
- 10. Connecting a PC / MAC NLE System to an Analogue VCR
- 11. Specification
- 12. Service & Support
Connecting a PC / MAC NLE System to an analogue VCR
Connect the IEEE 1394 / DV Out from your NLE system to the DV In/Out on the
DAC 200. Some NLE systems have 6 Pin DV out, like the DAC 200, while others
use the smaller 4 Pin connection, either type of connection will work OK.
Connect the analogue Audio and video outputs on the rear of the DAC 200 to the
inputs on your record deck. If your record deck has SVideo (Y/C) available it is
advisable to use it in preference to the Composite (Yellow Phono / RCA
connector).
N.B. Please ensure that you set the input of your record deck to the appropriate
setting. Some of the names used by VCR manufacturers are AUX (Auxillary),
Line1, AV1, F1, EXT (External).
Check that the DAC 200 has the DV light on, if it does not press the source
button.
Make sure your DIP switch settings are correct for your set up (see page 11)
13
