Dateq Apollo 사용자 설명서 - 페이지 7
{카테고리_이름} Dateq Apollo에 대한 사용자 설명서을 온라인으로 검색하거나 PDF를 다운로드하세요. Dateq Apollo 11 페이지.

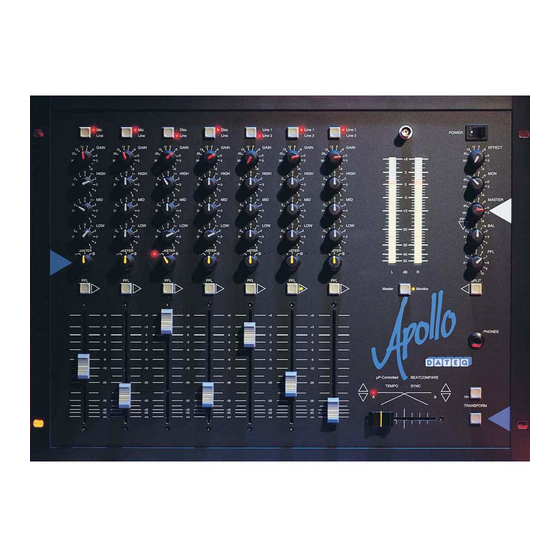
Microphone / Line Channels (1 and 2)
These two channels have been designed to connect microphones. They are equipped with an input
selector, volume control, a 3-way tone control optimized for voice, crossfader routing selector and
pre-fader listening.
Mic / Line
GAIN
HIGH
MID
LOW
A / MASTER / B Signal-routing selector. When switched to A, the signal goes
PFL
FADER
Input selector. Normally the Mic input is selected. Pushed in is
Line (CD, MD, tape). LEDs indicate which input is selected.
Determines the pre-adjustment of the volume for both the Mic
as well as the stereo Line input.
High tones control.
Mid tones control.
Low tones control.
via the A-side of the crossfader (left LED is lit) to the master
output. In position B, the signal goes via the B-side of the
crossfader (right LED is lit) to the master output. In the
MASTER position, the signal goes directly to the master.
Switches pre-fader listening on and off. When this function is
active, the headphone will switch to PFL and the input signal of
one or more inputs can be heard even though the fader is
closed. A LED will indicate whether the PFL-function on this
channel is active. When no PFL has been selected on any
channel, the master signal can be heard via PFL.
100 mm fader through which the volume of this channel can be
determined precisely. The volume of a channel is also
controlled by the crossfader if the channel is routed to the A- or
B-side of the crossfader.
