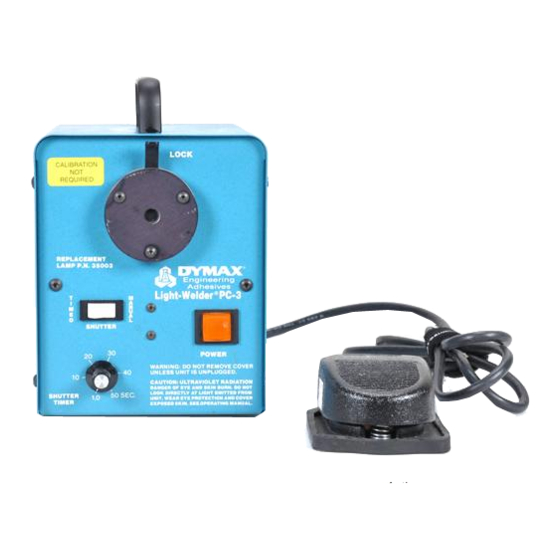
dymax PC-3 운영 매뉴얼 - 페이지 10
{카테고리_이름} dymax PC-3에 대한 운영 매뉴얼을 온라인으로 검색하거나 PDF를 다운로드하세요. dymax PC-3 20 페이지. Ultra uv curing light source
dymax PC-3에 대해서도 마찬가지입니다: 운영 매뉴얼 (16 페이지)

LAMP REPLACEMENT / INSTALLATION
BEFORE REPLACING THE LAMP, THE UNIT MUST BE "OFF" FOR A MINIMUM OF 5
MINUTES. THIS WILL ALLOW DANGEROUS CHARGES, WHICH ARE PRESENT FOR
PROPER LAMP OPERATION, TO BLEED OFF.
LAMP REPLACEMENT PROCEDURE
1. Allow the unit to cool before removing the lamp/reflector assembly.
2. Unplug the power cord.
3. Remove the cover screws and cover.
4. Disconnect the lamp electrode wire from the positive electrode clip. Do not disconnect the
wire from lamp.
5. Loosen the retaining nut (see Figure 1.1) and rotate the electrode to one side such that the
lamp/reflector assembly can be removed from mount. Remove the lamp/reflector assembly.
6. Install the new lamp/reflector assembly into the mount and move the negative electrode (see
Figure 1.1) into position. Tighten the screw. Do not bend the electrode to install the new
lamp/reflector assembly.
7. Attach the electrode wire to the positive electrode clip (see Figure 1.1).
8. Replace the housing cover on the unit. If access to the unit is limited, use Allen head
screws instead of thumbscrews.
9. Record the serial number of the unit and hour-meter reading on the Bulb History Record.
TM-021 PN 35933
Rev 05/06/97
WARNING
Figure 1.1
10
