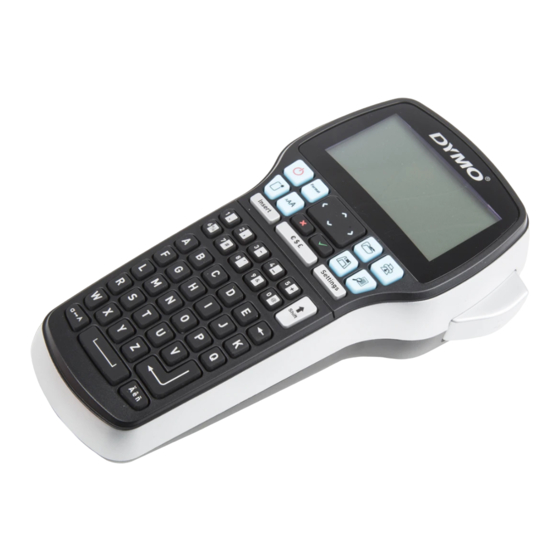
Dymo LabelManager 420P 빠른 시작 매뉴얼 - 페이지 10
{카테고리_이름} Dymo LabelManager 420P에 대한 빠른 시작 매뉴얼을 온라인으로 검색하거나 PDF를 다운로드하세요. Dymo LabelManager 420P 15 페이지. High-performance portable label maker with pc or mac connection
Dymo LabelManager 420P에 대해서도 마찬가지입니다: 사용자 설명서 (12 페이지), 개요 (12 페이지), 사용자 설명서 (13 페이지)

Printing Labels with DYMO Label™ v.8 Software
The following figure shows some of the major features available in DYMO Label v.8.
Visually
choose your
label type and
apply layouts.
Insert text,
addresses,
images,
shapes, lines,
barcodes,
dates, and
counters.
Store your
favorite
addresses or
other data in the
Address Book;
automatically
insert the data
on your label.
To print your first label
Click
in the built-in software to start DYMO Label v.8 software.
1
The first time you start DYMO Label software, a list of available label types is
displayed on the left side of the window and a blank label is displayed in the
Edit area.
From the Labels tab, select a tape label and then select a layout.
2
Make sure that the width of the tape label you select matches the width of
the label cassette loaded in the label maker.
Click once on the tape label in the Edit area and type some text.
3
Click
to print the label.
4
For complete details on using the software, refer to the online Help.
8
Apply a layout to
a label.
Capture an area of the screen
and insert on your label.
Select a label
maker to print
your labels.
Print a label.
