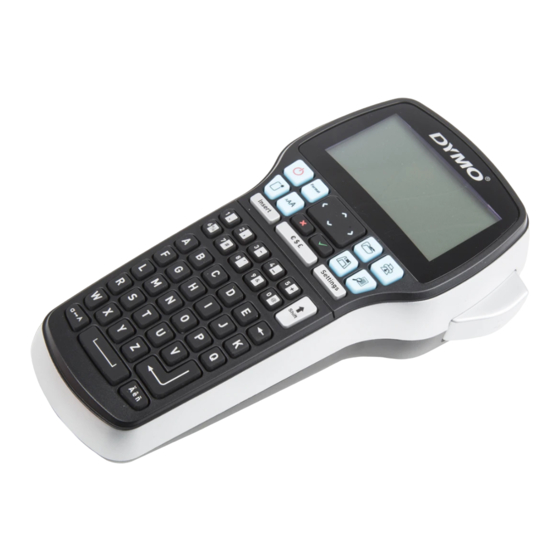
Dymo LabelManager 420P Skrócona instrukcja obsługi - Strona 10
Przeglądaj online lub pobierz pdf Skrócona instrukcja obsługi dla Urządzenie do tworzenia etykiet Dymo LabelManager 420P. Dymo LabelManager 420P 15 stron. High-performance portable label maker with pc or mac connection
Również dla Dymo LabelManager 420P: Podręcznik użytkownika (12 strony), Przegląd (12 strony), Podręcznik użytkownika (13 strony)

Printing Labels with DYMO Label™ v.8 Software
The following figure shows some of the major features available in DYMO Label v.8.
Visually
choose your
label type and
apply layouts.
Insert text,
addresses,
images,
shapes, lines,
barcodes,
dates, and
counters.
Store your
favorite
addresses or
other data in the
Address Book;
automatically
insert the data
on your label.
To print your first label
Click
in the built-in software to start DYMO Label v.8 software.
1
The first time you start DYMO Label software, a list of available label types is
displayed on the left side of the window and a blank label is displayed in the
Edit area.
From the Labels tab, select a tape label and then select a layout.
2
Make sure that the width of the tape label you select matches the width of
the label cassette loaded in the label maker.
Click once on the tape label in the Edit area and type some text.
3
Click
to print the label.
4
For complete details on using the software, refer to the online Help.
8
Apply a layout to
a label.
Capture an area of the screen
and insert on your label.
Select a label
maker to print
your labels.
Print a label.
