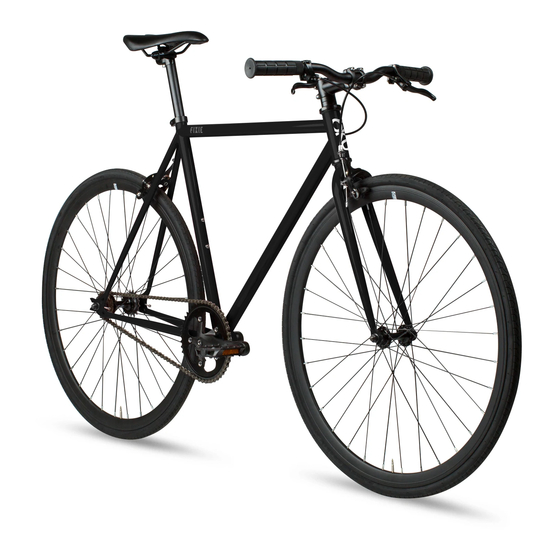
6KU FIXIE 단계별 구축 매뉴얼 - 페이지 16
{카테고리_이름} 6KU FIXIE에 대한 단계별 구축 매뉴얼을 온라인으로 검색하거나 PDF를 다운로드하세요. 6KU FIXIE 17 페이지.
- 1. Table of Contents
- 2. Tools
- 3. Let's Get Started
- 4. Installing the Handlebar
- 5. Installing the Front Wheel
- 6. Aligning the Stem
- 7. Installing the Seatpost
- 8. Optimizing the Brake Pads
- 9. Preparing Pedals for Installation
- 10. Installing the Pedals
- 11. Pumping the Tires
- 12. Let's Finish up that Handlebar
- 13. Optional Fixed Gear/Freewheel
- 14. Contact Information
g.
Install the cog by turning it
clockwise. Tighten with your chain
whip until you reach a hard stop.
h.
Install the lockring by turning it
counter-clockwise and tighten until it
stops against the fixed cog.
i.
Re-install the rear wheel and go ride.
j.
Fixed cogs can tighten even further
through pedaling action the first time
you ride the bike, so it's a good idea to
re-tighten the lockring after your first
ride.
15