Hi-Link HLK-RM04 사용자 설명서 - 페이지 6
{카테고리_이름} Hi-Link HLK-RM04에 대한 사용자 설명서을 온라인으로 검색하거나 PDF를 다운로드하세요. Hi-Link HLK-RM04 18 페이지. Serial to ehthernet
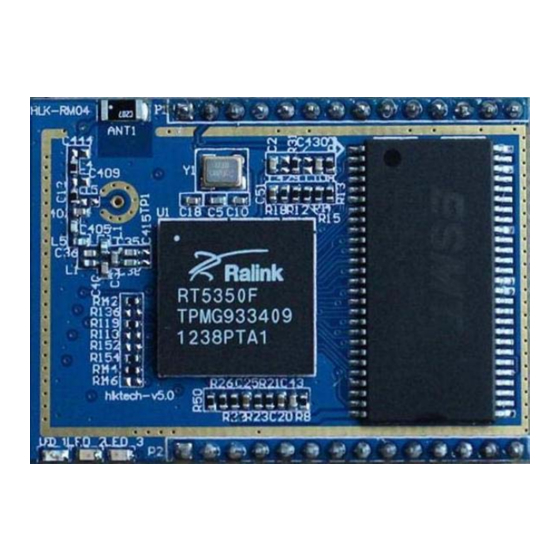
Hi-Link HLK-RM04에 대해서도 마찬가지입니다: 사용자 설명서 (5 페이지), 애플리케이션 매뉴얼 (12 페이지)
11
TXOP1
12
TXON1
13
RXIP2
14
RXIN2
15
RXIN1
16
RXIP1
17
TXON2
18
TXOP2
19
GPIO2
20
UART_RX
21
UART_TX
22
GPIO3
23
LINK2
24
GPIO4
25
WPS/RST
26
GPIO5
27
VO1.8
28
VCC5V
3
Quick Start
3.1
Restore factory settings
In order to ensure that all of configuration process is correct, bringing the module to restore
the factory settings firstly. Factory mode, the module can skip this step. Above 5V (500mA) to
power the module on the power, wait about 2.5 minutes for the system to start, after the start
completion, pulled ES / RST pin down and make it surpass Trst, release ES / RST pin, the system
will automatically restart. After rebooting, the system is already in Factory mode.
3.2
Configurate network parameter
Set the PC to static IP mode and then connect it with the module via Ethernet or wifi. The IP
address is set to 192.168.16.100/255.255.255.0, gateway 192.168.16.254. The (wifi default ssid and
the default password, see this document.) open the browser http://192.168.16.254, enter the web
I/O
I/O
I/O
I/O
I/O
I/O
I/O
I/O
I
I
O
I
10/100 PHY Port #2 activity LED
I/O
O
WiFi Protected Setup /Restore factory value
I
O
1.8V Output (Suuport Atmost 300mA)
Power Out
Power In
value
10/100 PHY Port #1 TXP
10/100 PHY Port #1 TXN
10/100 PHY Port #2 TXP
10/100 PHY Port #2 TXN
10/100 PHY Port #1 RXN
10/100 PHY Port #1 RXP
10/100 PHY Port #2 OXN
10/100 PHY Port #2 OXP
General GPIO Reserved
UART RXD.
UART TXD.
General GPIO Reserved
General GPIO Reserved
General GPIO Reserved
Supply Voltage, 5V+/-10%