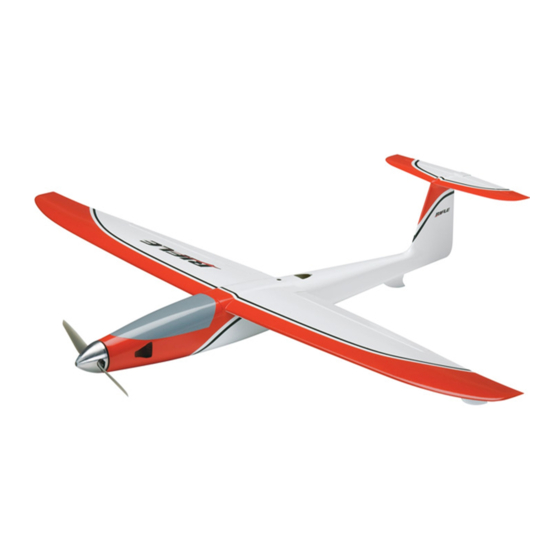
GREAT PLANES Electrifly Rifle 사용 설명서 - 페이지 14
{카테고리_이름} GREAT PLANES Electrifly Rifle에 대한 사용 설명서을 온라인으로 검색하거나 PDF를 다운로드하세요. GREAT PLANES Electrifly Rifle 16 페이지.

CHECK LIST
During the last few moments of preparation your mind
may be elsewhere anticipating the excitement of the fi rst
fl ight. Because of this, you may be more likely to overlook
certain checks and procedures that should be performed
before the model is fl own. To help avoid this, a check list
is provided to make sure these important areas are not
overlooked. Many are covered in the instruction manual,
so where appropriate, refer to the manual for complete
instructions. Be sure to check the items off as they are
completed (that's why it's called a check list!).
❏
1. Make certain you've set the C.G. and the control
throws according to the measurements provided in
the manual.
❏
2. Confi rm that the elevator and ailerons operate in the
correct direction.
❏
3. Make sure the servo arms are secured with the screws
that came with them.
❏
4. Make sure the receiver antennas are oriented as
specifi ed by the manufacturer.
❏
5. Use threadlocking compound on the screws that lock
the pushrods down to the screw-lock connectors.
❏
6. Examine the elevator and ailerons to make sure the
built-in hinges are intact.
❏
7. Make sure the servo screw holes have been hardened
with thin CA.
❏
8. Place your name, address, AMA number and telephone
number on or inside your model.
❏
9. Range check your radio when you get to the fl ying fi eld.
❏
10. Before each fl ight closely inspect the elevator and
aileron pushrod linkages to make sure they are secure.
1. Advanced fl ying skills are required to fl y the Rifl e. It should
not be fl own by beginner or intermediate pilots.
2. The Rifl e will fl y at speeds near 100 mph and should be
fl own only at an approved AMA fl ying site.
3. The Rifl e can get out of sight quickly. Keep your focus on
the plane at all times.
CAUTION: The Rifl e fl ies smoothly and predictably, but it is
small and fl ies EXTREMELY fast, so it is not a plane that should
be fl own by beginners or pilots with little experience. Further,
the Rifl e possesses no self-correcting tendencies what-
so-ever—it waits for your inputs before changing directions.
Therefore, the Rifl e must be fl own only by experienced
pilots who are able to keenly detect what the model is
doing and decisively provide the correct control inputs.
FLYING
When the Rifle is flying in front of you...
However,
there may be moments during the turnaround when...
this is all you see.
Even experienced pilots must not underestimate the Rifl e's
extreme speed. Of course, it's easy to lock onto the Rifl e
when it's shooting by right out in front of you, but it takes
only a few seconds to get near the limits of your fl ight
pattern when it will appear extremely small and you will be
seeing it from a different perspective. This is when you can
lose orientation or visual contact altogether, so you must
see clearly and react decisively. For these reasons please
follow these pieces of advice—especially for your very
fi rst fl ights.
1. Do not fl y your Rifl e on a cloudy or overcast day. Poor
lighting and a gray background make it even more diffi cult
to see. No matter what colors or markings your Rifl e has,
it will all disappear when it gets far away and just turns
into a black dot with no orientation cues.
2. Do not fl y when facing the sun. Wait for ideal light
conditions when the sun is at your back.
3. Do not try to fl y your Rifl e in confi ned fl ying sites.
While it is always possible (but not advisable) to fl y above
obstructions, the Rifl e requires at least two or three times
the approach and landing space of regular sport models.
4. Do not fl y the Rifl e if for some reason, any of your senses
may have been compromised (from lack of sleep, hunger,
dehydration, etc.). Your vision, concentration and reaction
time must be optimum.
5. Never take your eyes off the model – even while adjusting
the fl ight trims.
Mount the Wing
When ready to fl y, turn on your transmitter and make sure
the throttle stick is all the way down. Install and connect the
battery, plug the aileron servo wire into the receiver and
mount the wing.
Operate the controls to make sure everything is responding
correctly and smoothly.
14
it's easy to see!
