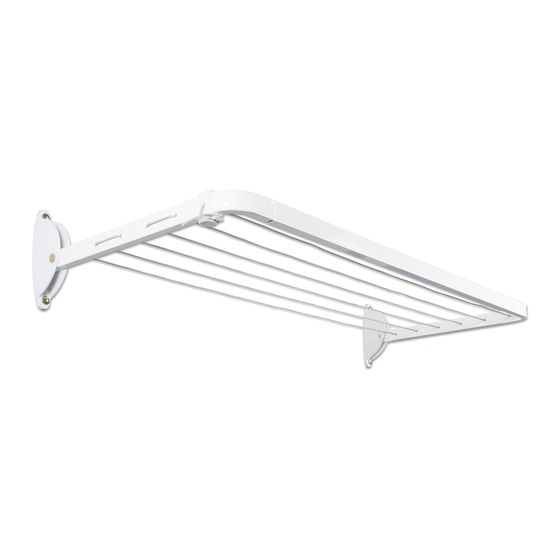
DAYTEK Laundry Quick Lock Fold Down Clothesline 설치 지침 - 페이지 3
{카테고리_이름} DAYTEK Laundry Quick Lock Fold Down Clothesline에 대한 설치 지침을 온라인으로 검색하거나 PDF를 다운로드하세요. DAYTEK Laundry Quick Lock Fold Down Clothesline 4 페이지.

FOLD DOWN INSTALLATION PROCEDURE
OPTIONAL SIZE ADJUSTMENT
You can reduce the width of your clothesline to suit your space needs.
TO REDUCE WIDTH: Determine your required wall bracket centres (distance between fixing points). Deduct the
measured distance from the standard length (1200mm). The difference will need to be cut off the FRONT BAR.
Example: If your required width is 900mm then you will need to reduce the overall length of the FRONT BAR by
300mm (1200mm - 900mm = 300mm).
File the end of the tube to remove any sharp edges or burrs. Trial fit the SIDE ARMS to the FRONT BAR to
confirm the new mounting width before marking up and securing to the wall.
Note: Warranty will not cover any damage caused to the clothesline as a result of cutting the front bar.
1. Once wall mounting location is decided, mark
height position, wall bracket mounting holes and
wall bracket centres, ensuring they are level. Our
recommended height is user height + 100mm.
(See figure 1)
2. For brick or concrete installations, drill four
mounting holes with 10mm diameter at 50-60mm
depth.
For timber wall installations, drill four mounting
holes with 5mm diameter at 50mm depth.
For fixing to alternative wall materials, consult
your local hardware specialist.
Note: We do not recommend fixing directly to
plaster walls. Attach at wall stud (wooden joist)
locations only.
3. For brick or concrete installation, insert 4 x plastic
plugs into hole ensuring they are flush with the
surface. Secure side arms to wall with the screws
provided. Do not fully tighten at this stage.
For timber walls installation, secure side arms to
wall with screws provided (discard plastic plugs).
Do not fully tighten at this stage.
For fixing to alternative wall materials, consult
your local hardware specialist.
4. Spread side arms apart and slide front bar into
position. Ensure side arms are inserted fully into front
bar. (See figure 2). Fully tighten all wall mounting
screws.
5. Start threading line from inner most hole (see figure 1)
and continue up to last hole position. Thread line
through line tensioner, pull tight, loop 2-3 times around
tensioner and lock into place (see figure 3). Trim
excess line leaving approximately 50mm.
Figure 2.
Ensure side arms are inserted fully into front bar
