Hiboy VE1 PRO 사용자 설명서 - 페이지 6
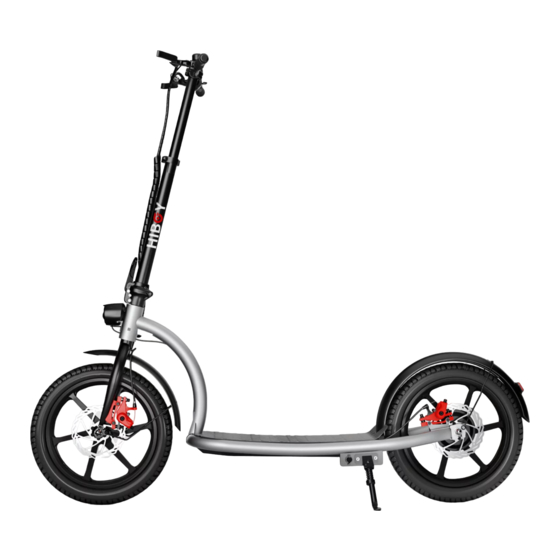
{카테고리_이름} Hiboy VE1 PRO에 대한 사용자 설명서을 온라인으로 검색하거나 PDF를 다운로드하세요. Hiboy VE1 PRO 10 페이지. 16" electric scooter
Hiboy VE1 PRO에 대해서도 마찬가지입니다: 사용자 설명서 (14 페이지)
6. Assemble
Before you begin: Remove contents from box. Remove the separators that protect the components from damage during shipping.
Inspect the contents of the box for scratches in the paint, dents, or kinked cables that may have occurred during shipping. Because
the electric scooter was partially assembled and packed at the factory, there should not be any problems, even if the box has a few
scars or dents.
MAKE SURE POWER SWITCH IS TURNED "OFF" BEFORE CONDUCTING ANY ASSEMBLY OR MAINTENANCE PROCEDURES.
Hiboy recommends assembly by an adult with experience in bicycle mechanics.
Unfold the scooter(Open the folding lock)
Attaching the Handlebars
Required Tools: 5 mm Allen Wrench (included)
1. Loosen the screw on Top of T-tube
2. Put the handle bar on(the thread part should be in the middle)
3. Tighten the screw
Note: The Angle of handle can be adjusted according to personal habit during installation.
Tighten the Rod of Rear Fender
Required Tools: 3 mm Allen Wrench (included)
1. Loosen the screw on rear wheel (See image)
2. Align the rod with the hole
3. Tighten the screw
Attaching the headlight
Required Tools: 2 mm Allen Wrench (included)
1. Loosen the screw on headlight
2. Align the headlight with the hole on the top of front fork
Need Help? Please search "Hiboy us" on Youtube website to find our Channel. You can watch the Installation video
of VE1 PRO. Or contact Hiboy after-sale team by email: [email protected].
8
3. Tighten the Screw
Attaching the Front Fender
Required Tools: 5 mm Allen Wrench, 10 mm Wrench (included)
1. Loosen the screw on Top of T-tube
2. Align the hole on the front fender with the hole in the middle of front fork
3. Tighten the Screw
Attaching the Front Wheel (See Image A1,A2)
Required Tools: Two(2) 16 mm Wrenches (included)
1. Put the bearing into the front wheel
2. Put the short bearing bush on the wheel side(with Disc Brake Pads)
3. Put the long bearing bush on the other wheel side(without Disc Brake Pads)
4. Attaching the front wheel under the front fork, the Disc Brake pads should
be inserted into the Disc Brake device
5. Put the mousing-hook on the each side of bearing(The hook part
should hook the corresponding holes on the two sides of the front fork)
6. Put the flat washer on the each side of bearing
7. Tighten the nut of each side
Tighten the Rod of Front Fender
Required Tools: 3 mm Allen Wrench (included)
1. Loosen the screw on front wheel (See image A3)
2. Align the rod with the hole
3. Tighten the screw
Need Help? Please search "Hiboy us" on Youtube website to find our Channel. You can watch the Installation video
of VE1 PRO. Or contact Hiboy after-sale team by email: [email protected].
A1
A2
A3
9