Automatic Technology Megacode Tricode 128 매뉴얼 - 페이지 10
{카테고리_이름} Automatic Technology Megacode Tricode 128에 대한 매뉴얼을 온라인으로 검색하거나 PDF를 다운로드하세요. Automatic Technology Megacode Tricode 128 20 페이지. Multi-frequency four channel receiver

6. Time Clock
The MegaCode
®
receiver provides a programmable Time Clock
which can be used to control its outputs on a timed basis at various
times of the week. This section details the Time Clock operation
and configuration.
6.1 Time Clock Operation
The Time Clock consists of a 7 day clock and storage for 32
programs . The clock is powered by its own battery and therefore
does not lose time when the MegaCode
Each Time Clock program defines the time of the day and the days
of the week it is to run and the output function to be executed. Any
combination of the days of the week can be selected.
The output actions available are:
S_#
Output# is SET on, Transmitter and wired
triggers are ignored.
R_#
Output# is RESET off, Transmitter and wired
triggers are ignored.
RX#
Output# is released for transmitter and wired
trigger access. The output state is not changed.
---
Not used
NOTE: The most recent program that applies to an output remains
active until a new program takes effect. The program is not just
executed at the programmed time but from the programmed
time until another program takes over. This also means that each
output's state is correctly restored after power failure, Vacation
Mode and output disabling.
NOTE: If a Time Clock program does not have a day selected then
it can not executed. If a Time Clock program is taking control of
an output (function = S_# or R_#), then this status is displayed on
the MAIN SCREEN in the output field as #S or #R where # is the
program number.
6.2 Time Clock Settings
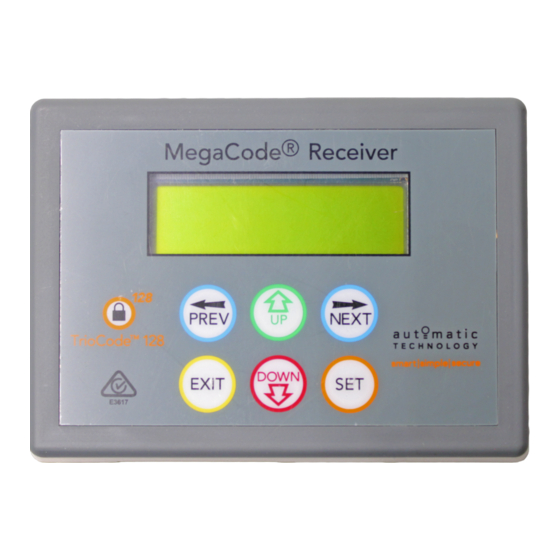
The Time Clock settings are accessed by selecting the Time Clock
(Fig. 6.1)
menu (MENU 7). Press SET
PREV or NEXT to navigate through the options.
Menu 7.1 Set Time/date
This is where the current time, date and day are displayed and set
NOTE: The time is in a 24 hour format and the Day of the week is
not automatically set with the date. To change the settings simply
press UP or DOWN to display the cursor and then move to the
field to be changed using the NEXT / PREV buttons. Then press
UP/DOWN to change the setting and then the SET button to save
or EXIT button to cancel.
Menu 7.2 View Programs
Select this menu to display or edit the Time Clock programs. When
selected, program number 1 is displayed and the cursor is shown
on the program number field. The other fields shown include the
function, time and days of operation.
The example in
Fig. 6.3
shows;
a. Output 1 will be SET on at 6pm on Mondays, Tuesdays,
Wednesdays, Thursdays and Fridays.
b. Use the UP / DOWN buttons to scroll though the other
programs.
c. To edit a program, simply press the NEXT / PREV buttons to
move the cursor onto the required field and press the UP/
DOWN button to change the value.
d. To save the program settings, press SET or to exit without
saving press EXIT.
10
MegaCode
Receiver Installation Instructions
®
receiver is turned off.
®
to enter the menu and then
MENU 7
Time Clock
P#01
18:00:00 MTWTF--
Menu 7.3 Settings
Under this menu, four sub menus are available:
i. Run
Programs. This parameter allows the User to halt both
run the timer programs. The programs of the timer can be
interrupted by selecting RUN PROGRAM off.
ii. Disable 4
Input. This input can be used as a daylight saving
time adjuster. When activated, it will add the amount of time
selected in Menu 7.3.4 (7.3.iv) to the Time Clock
iii. Disable 4 Input
Contact. Disable four (4) input is configured
for N/O operation. This parameter allows its operation to be
changed to N/C.
iv. Daylight Saving Time
Adjust. The amount of time to add to
the time clock at start of daylight saving period is selected
here. Options are OFF, 30, 60, 90 or 120 minutes.
Use a pen
to push the
battery back
and then up to
release battery
REPLACE BATTERY WITH CR1220 ONLY
6.3 Removing the Time Clock Battery From the Receiver
(Battery Type: 3V Lithium Battery CR1220).
Use a non-metallic object (e.g. pen) to remove the battery.
Fig 6.1
S_1
Fig 6.3
Fig 6.4
(Fig. 6.4).
