Dynalink RTA1046VW 구성 매뉴얼 - 페이지 4
{카테고리_이름} Dynalink RTA1046VW에 대한 구성 매뉴얼을 온라인으로 검색하거나 PDF를 다운로드하세요. Dynalink RTA1046VW 7 페이지. Adsl2+ wireless voip router
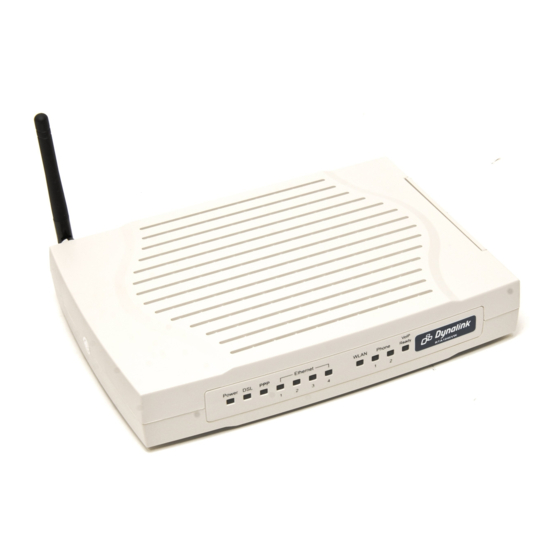
Dynalink RTA1046VW에 대해서도 마찬가지입니다: 사양 (3 페이지)
Modem Configuration Guide
4. CONFIGURING VOIP
A. If you are still logged into your router interface, click on the Voice
Menu at the top. If you are not logged in anymore use your browser
to go to 192.168.1.1 and login with admin as the username and
password (by default)
B. In the SIP Basic section enter the following
information:
i. SIP Registration Address = aphone4.tpg.com.au
ii. SIP Outbound Proxy = aphone4.tpg.com.au
iii. SIP Proxy Server Address = aphone4.tpg.com.au
(Please note: For the above 3 fields, some customers
may need to use aphone3.tpg.com.au. If in doubt
please contact TPG Technical Support)
iv. Under Phone 1, enter the following information
- Phone Number = Your TPG Username (without PPP
or L2TP extension)
- Username = Your TPG Username (without PPP or
L2TP extension)
- Password = Your current TPG password
v. Click on Apply
Please note: By entering details in the 'Phone 1' row,
you are setting up VoIP for the phone port at the back
of your router labelled "Phone 1" and so you must
have your telephone handset connected to this port to use VoIP. If
you have a telephone handset connected at Phone 2, this would be
working on regular PSTN and not VoIP
C. You should now see a confirmation of the VoIP
connection under 'SIP Basic Settings'
Dynalink RTA1046VW
4